If you have a business, whether selling products or services physically, having an online presence is mandatory. We are in the era of digitization and technology. People are increasingly adopting the habit of shopping online, and having your own online store can be the catalyst for your business to take off. Contrary to what many believe, setting up your online store is easier than most think. In this article, I will show you how to install and configure your WordPress site to adapt to the characteristics of an online sales business. It will be impossible to cover all aspects in a single post, so I will do it in several posts. Let’s get started.
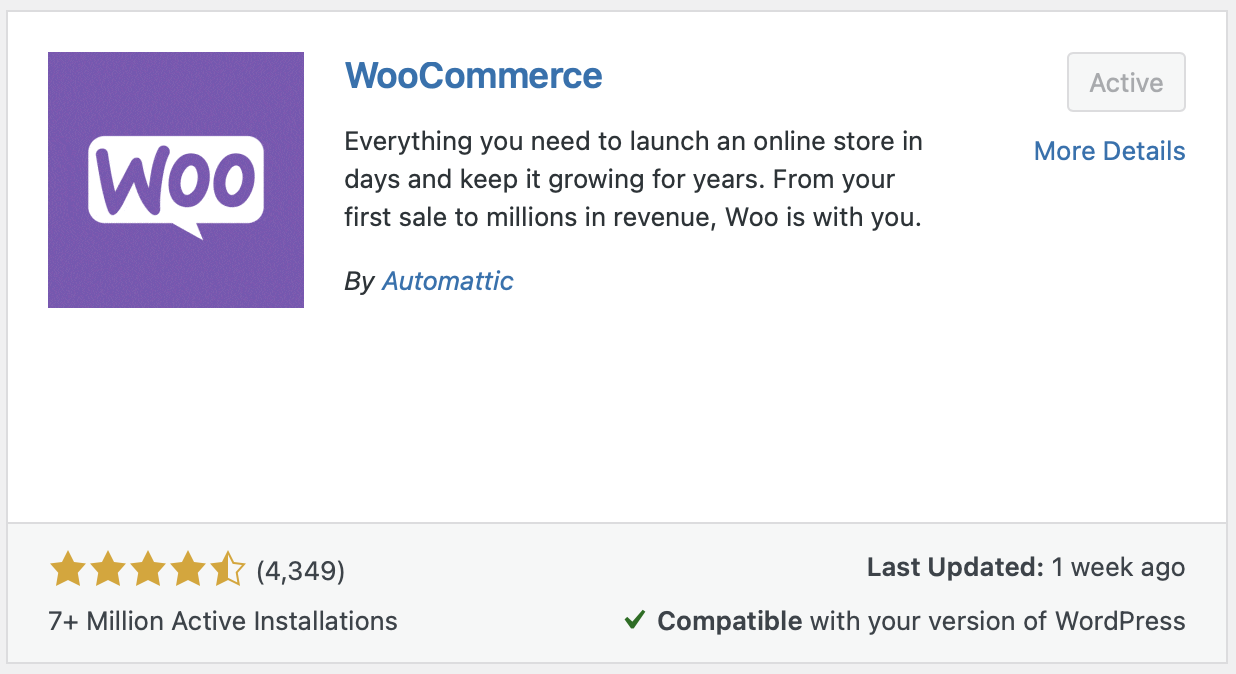
Assuming you have your WordPress site already installed, if not, you can check my post “Installing WordPress in a Kubernetes Cluster” and come back to this article. The first thing we need to install is WooCommerce, a versatile plugin for setting up your online store. To do this, go to the WordPress Plugins section and select “Add New Plugin.” In the search box, type “woo,” and in the search results, select “Install” and then “Activate,” as shown below.
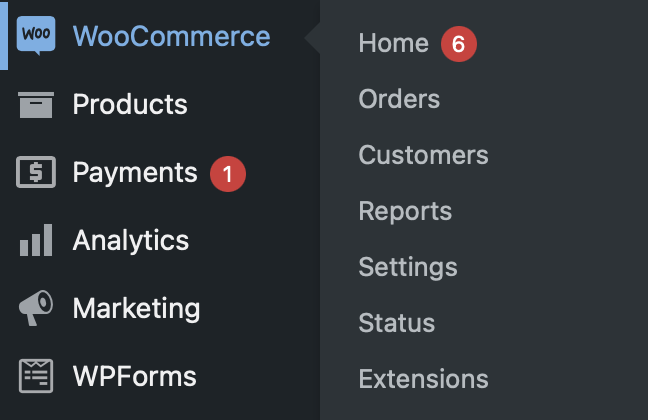
Once WooCommerce is installed, you should see a new section referring to it in the left-hand menu, as shown in the following image.
Next, we’ll go through the basic but necessary configuration options to complete the setup of your store.
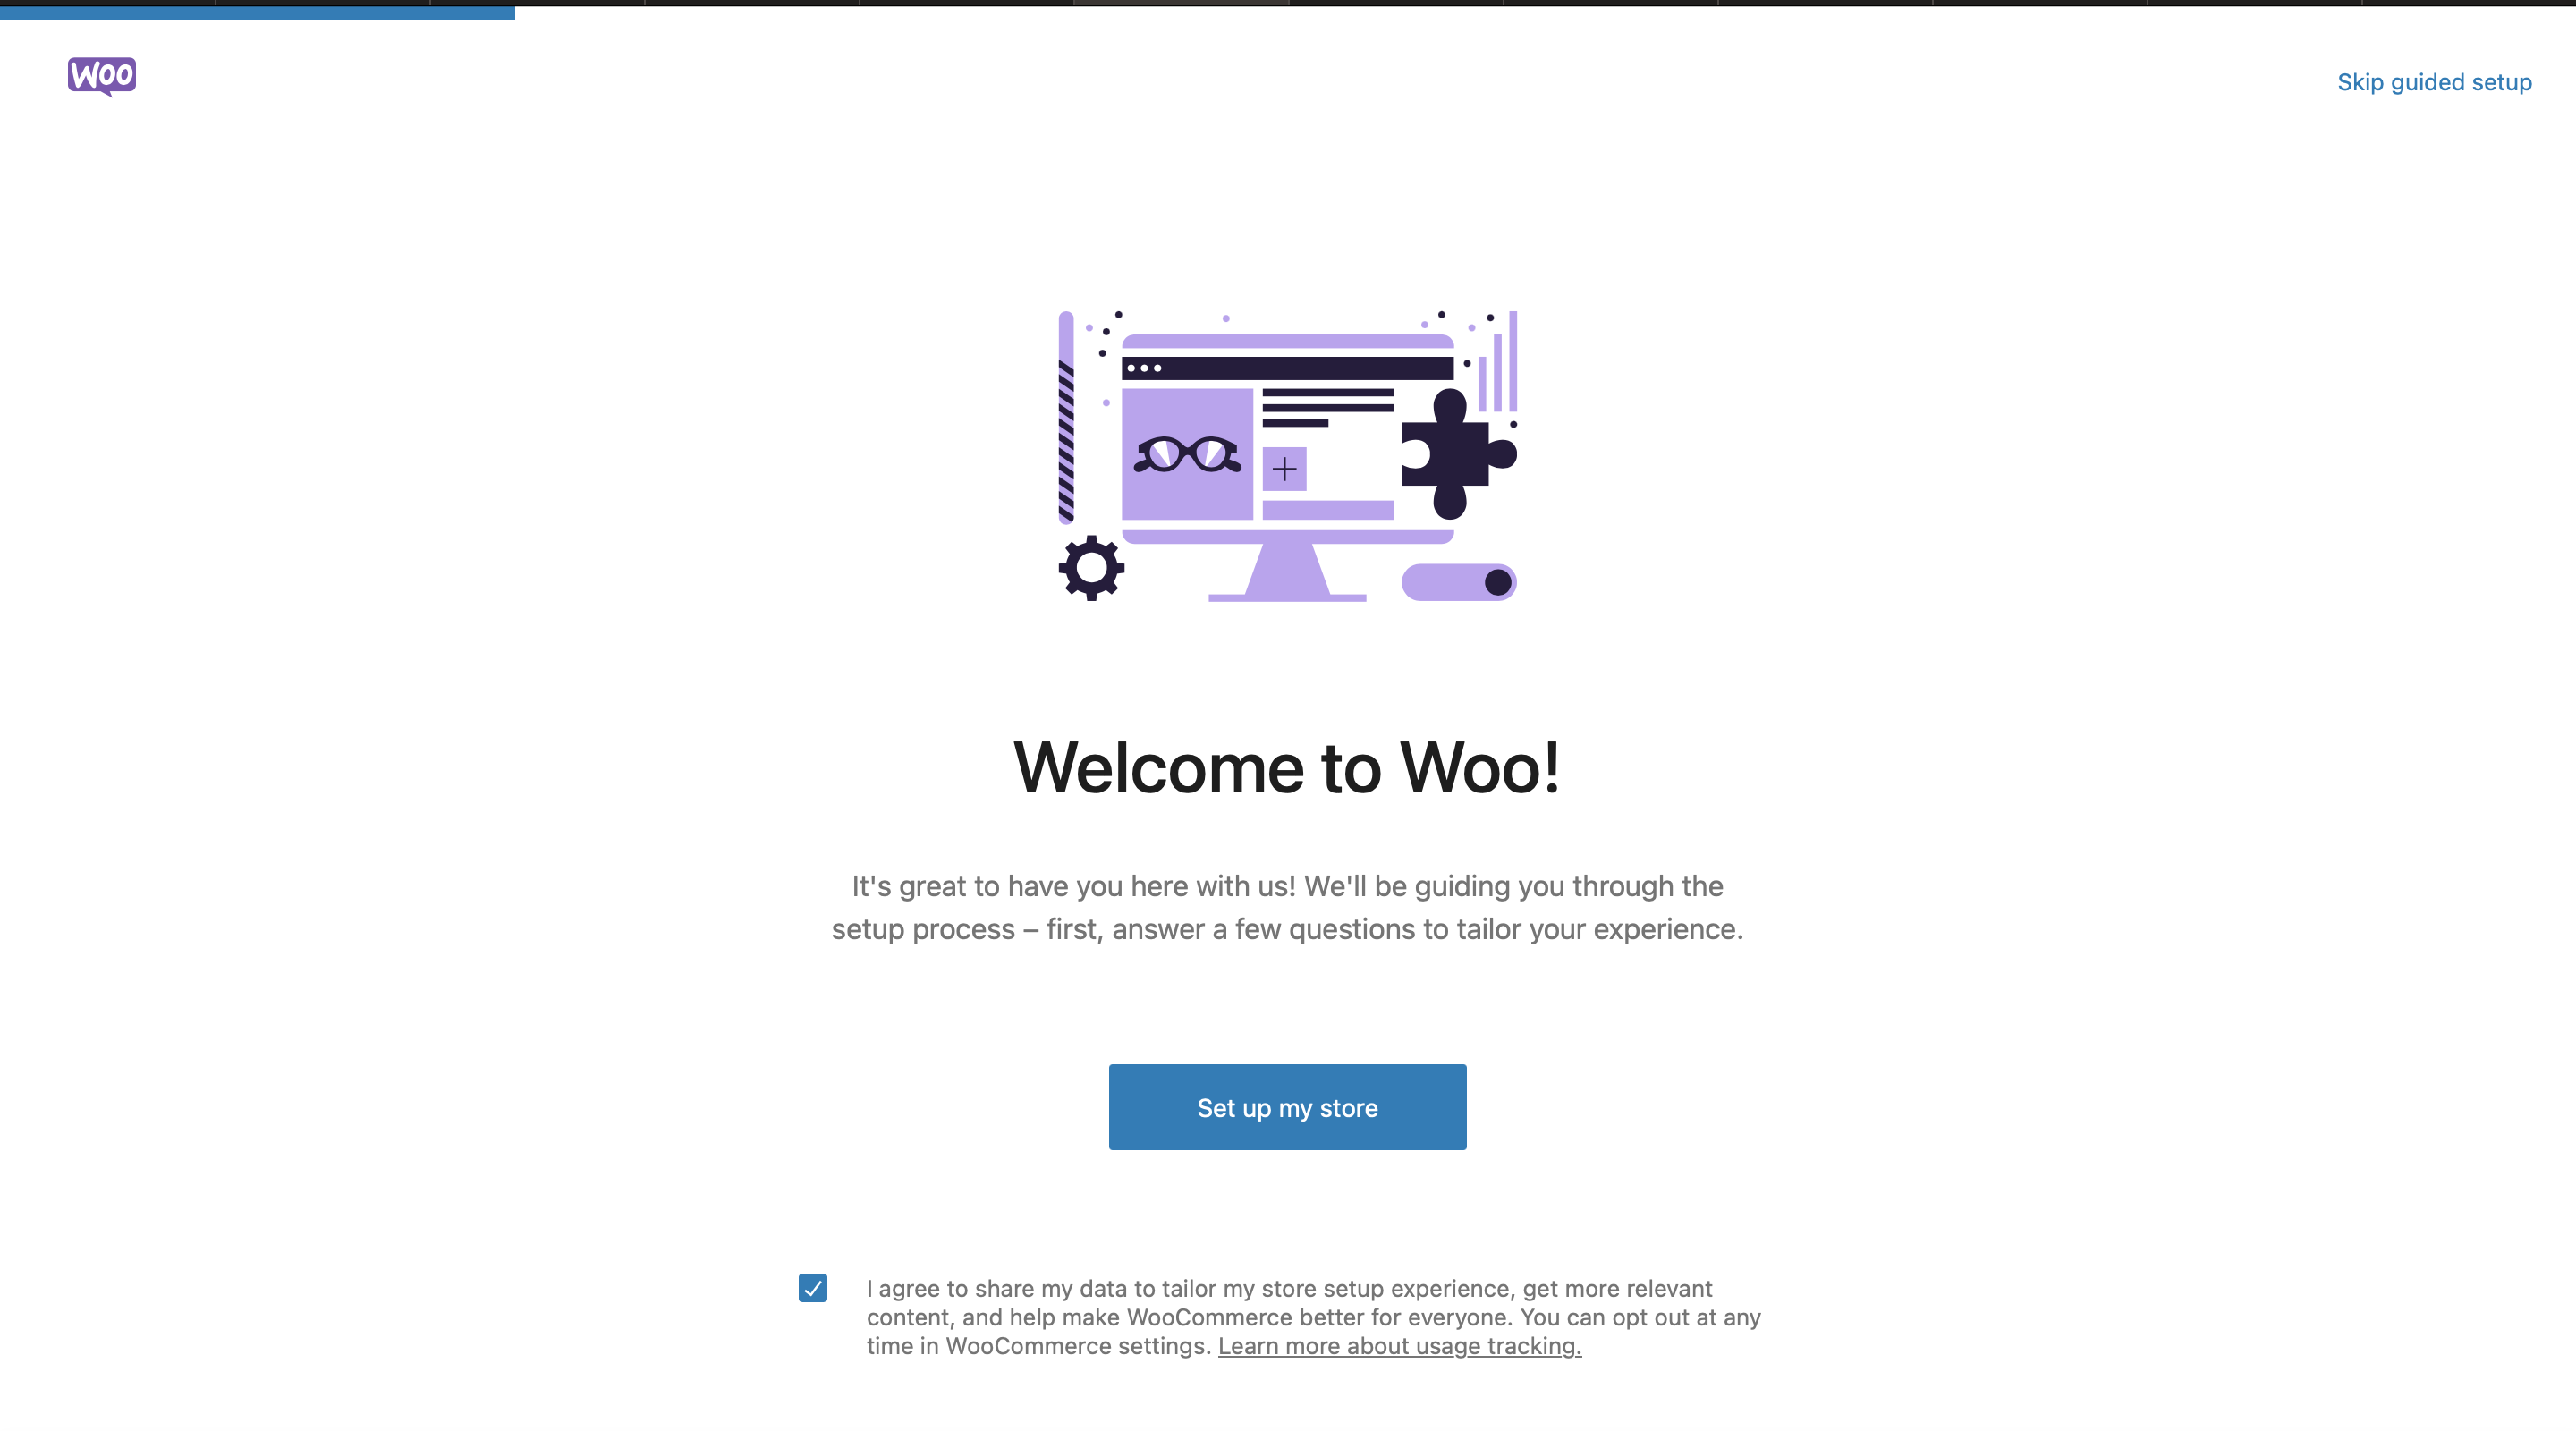
Accept the terms and conditions by checking the box at the bottom of the section, and then click the “Set up my store” button.
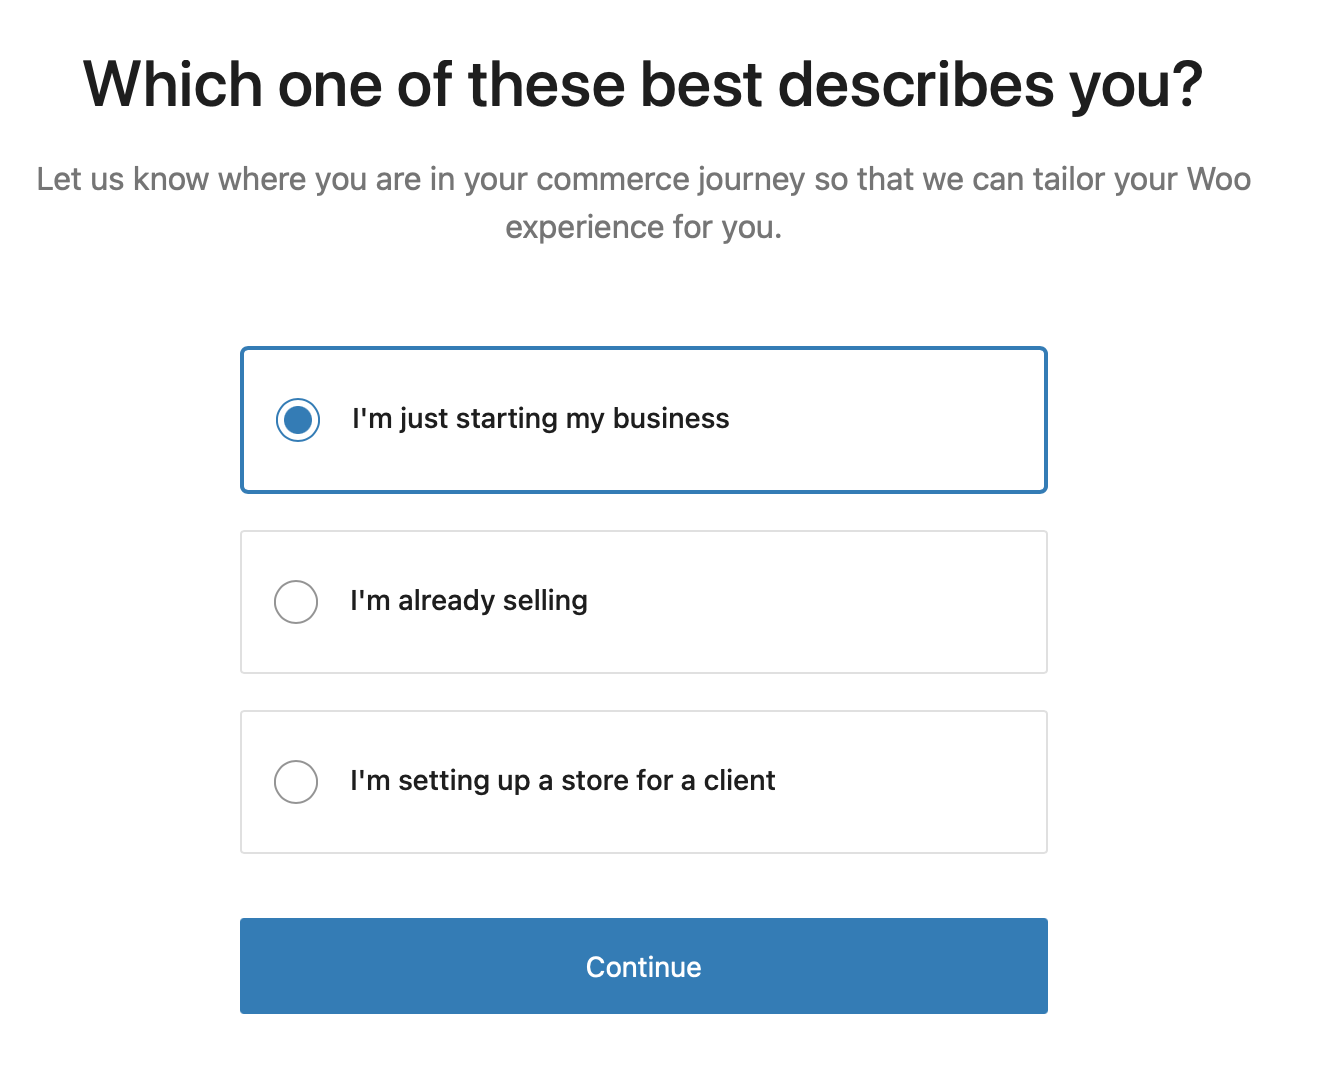
WooCommerce will ask if you are starting your own business, already have a sales business, or are setting up a store for a client. In my case, I will select that I am starting a new business and then click the “Continue” button.
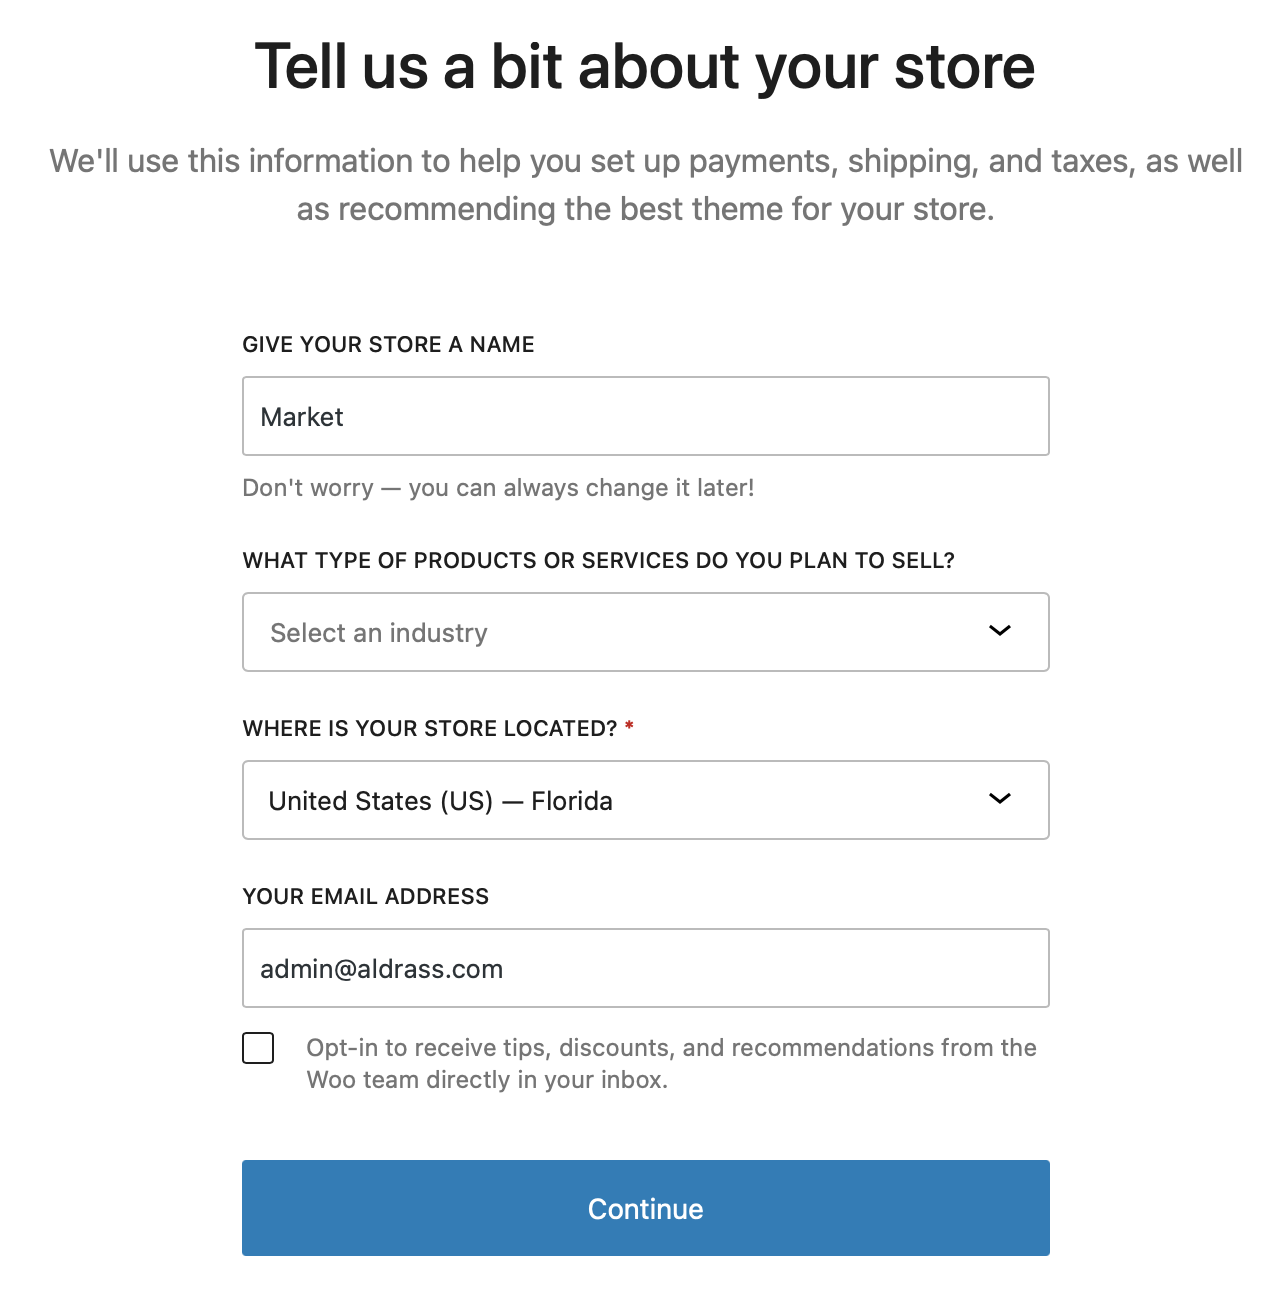
Let’s now define the name of your store, the industry you’re selling in, the country and state of your store, and also provide the email address.
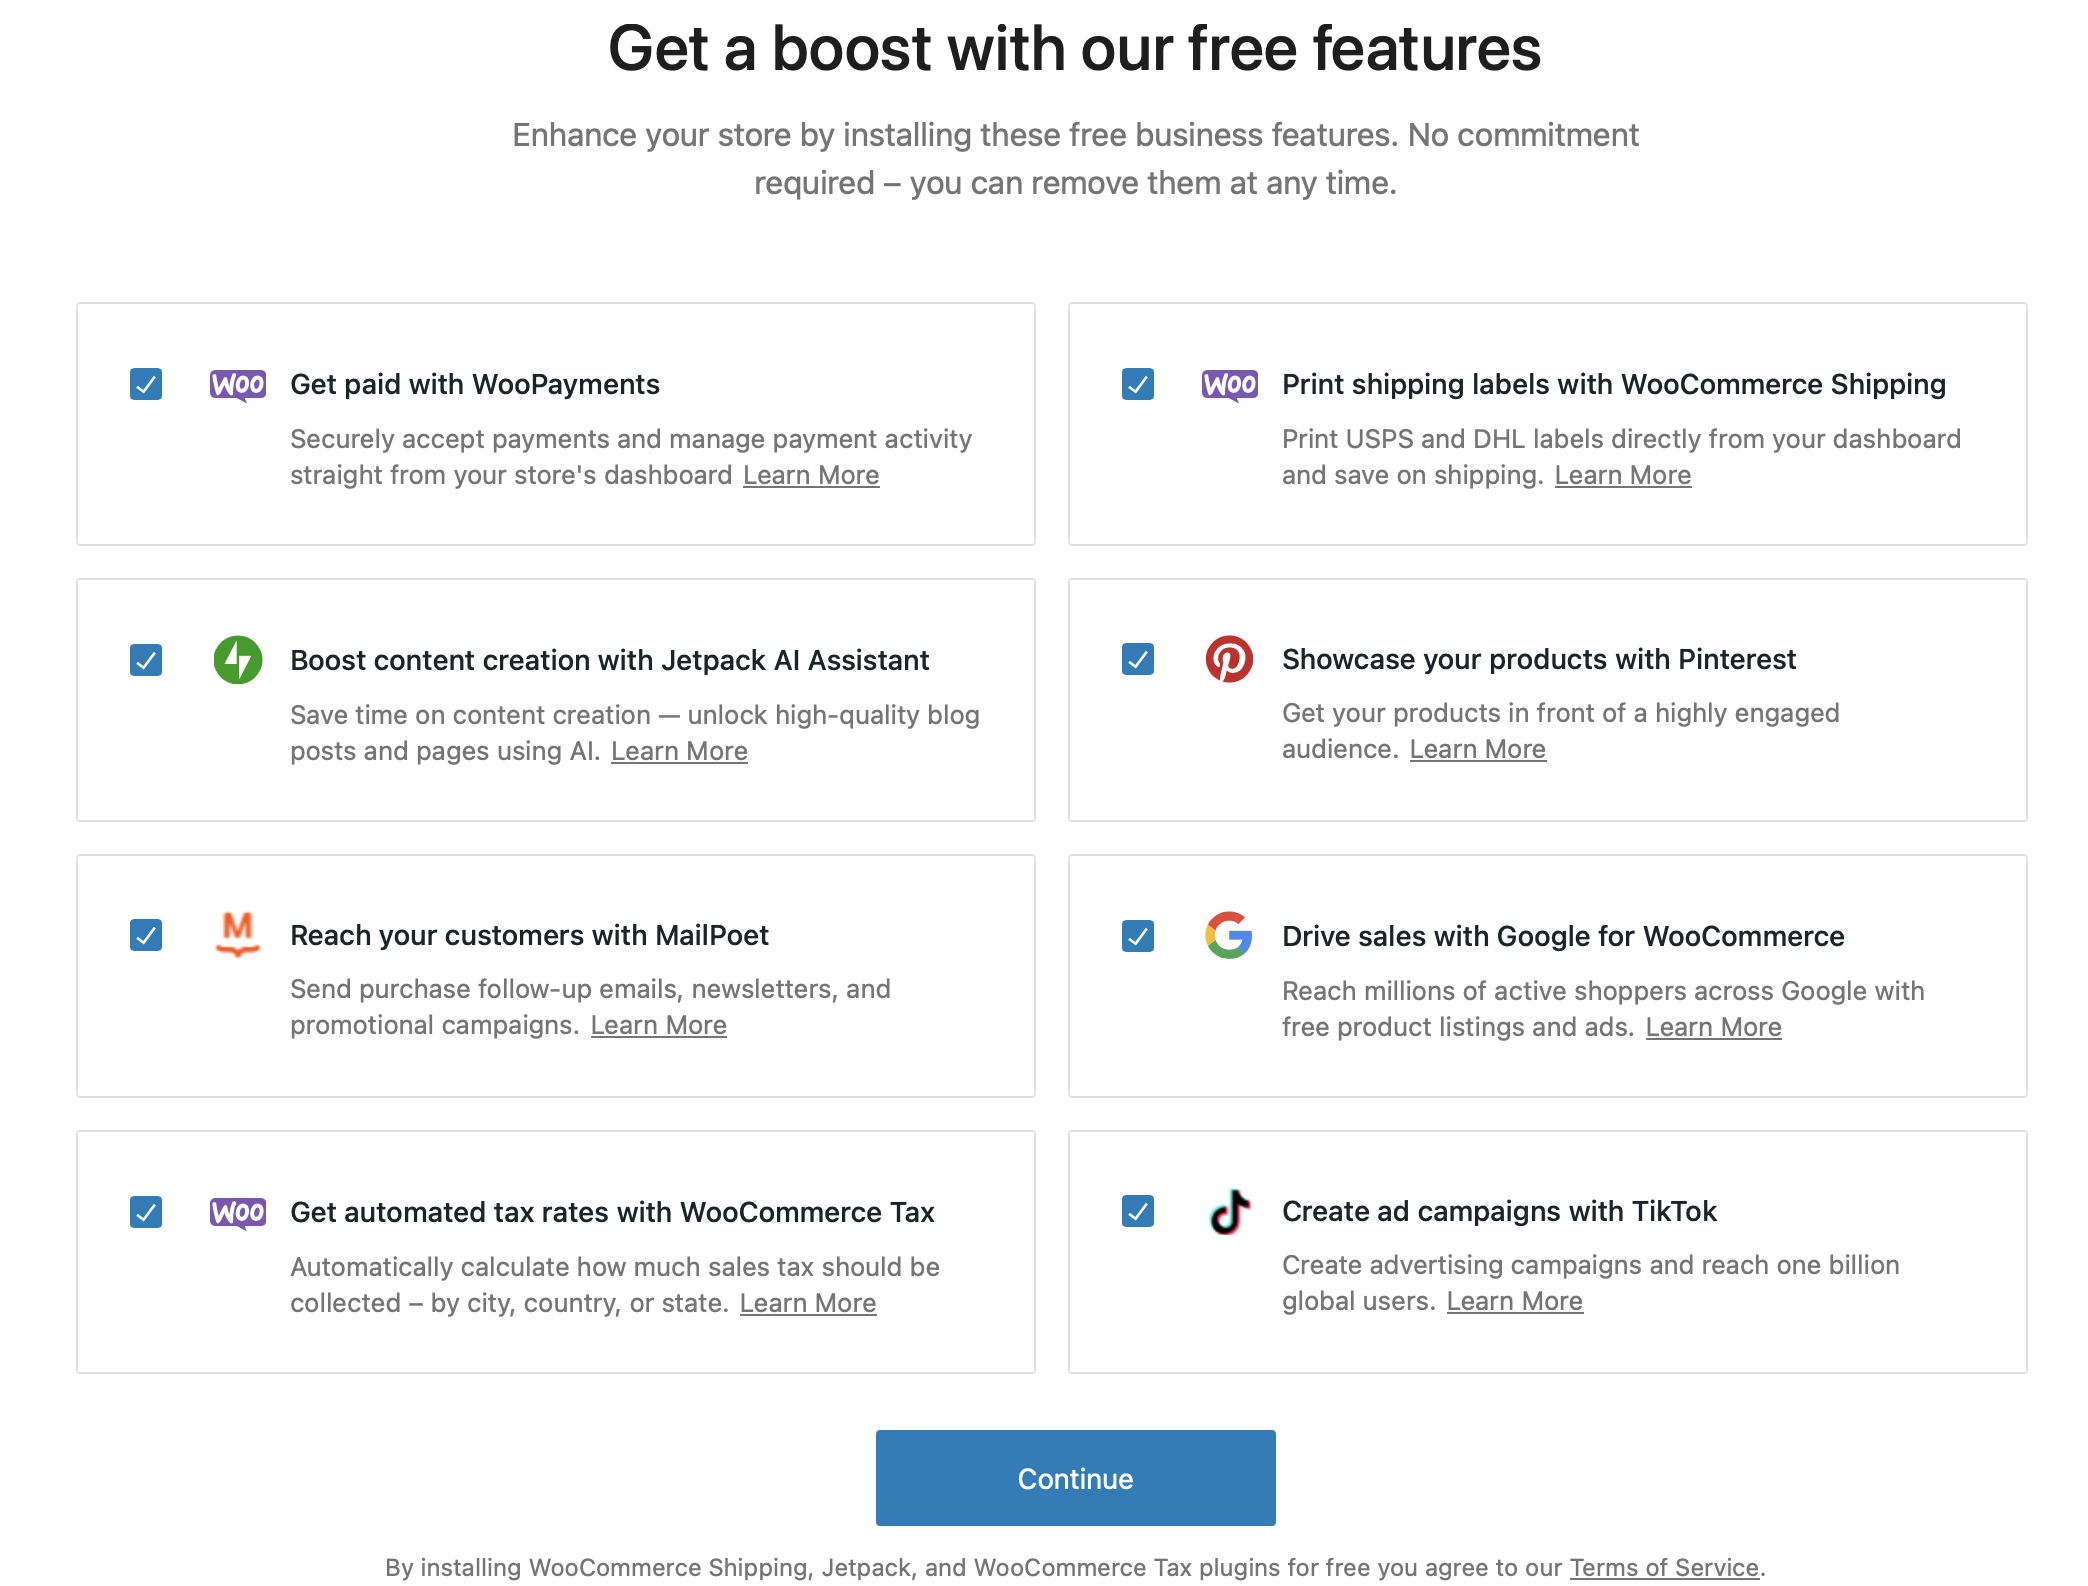
On the next page, you have several functionality options that you can enable. In my case, I select all of them, as we will be using them in one way or another later on. Press the “Continue” button, and the installation process will begin. It may take a few minutes to complete.
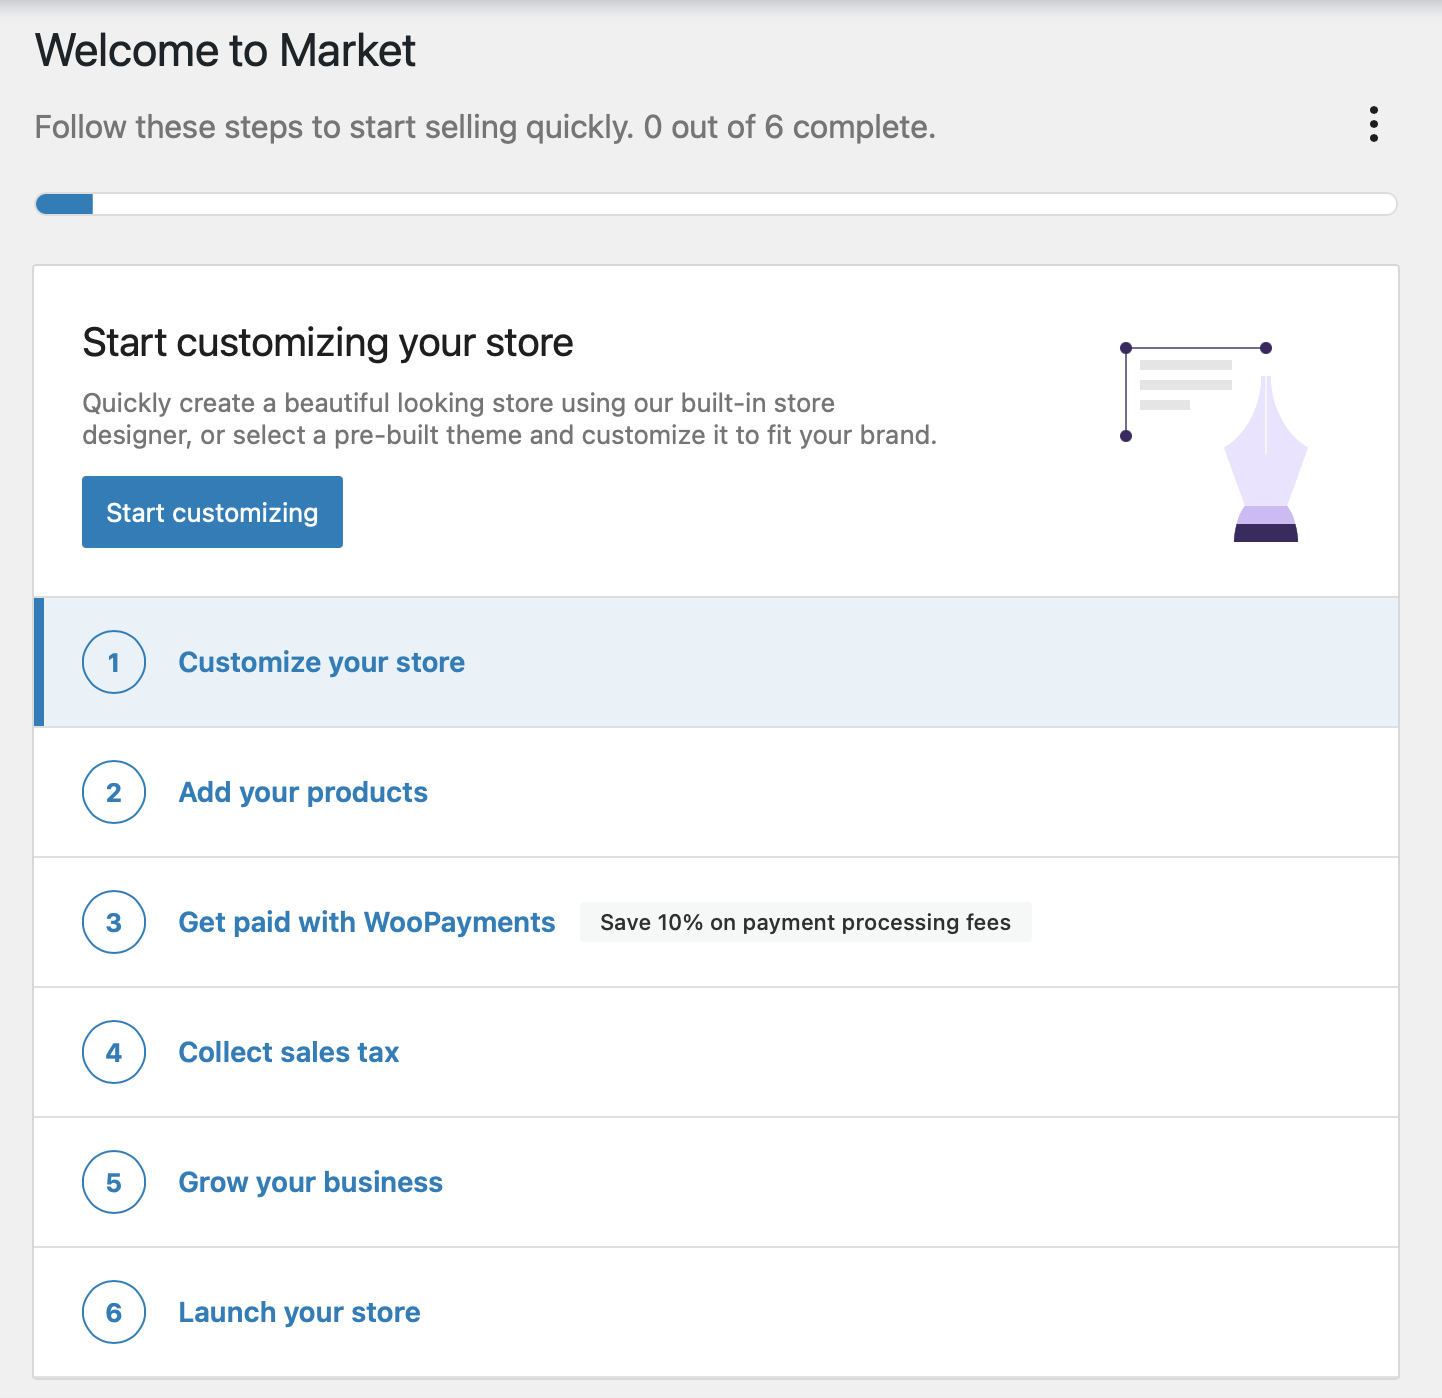
Now we’ll proceed with customizing our store. We’ll start by setting up the payment system, so select option number 3.
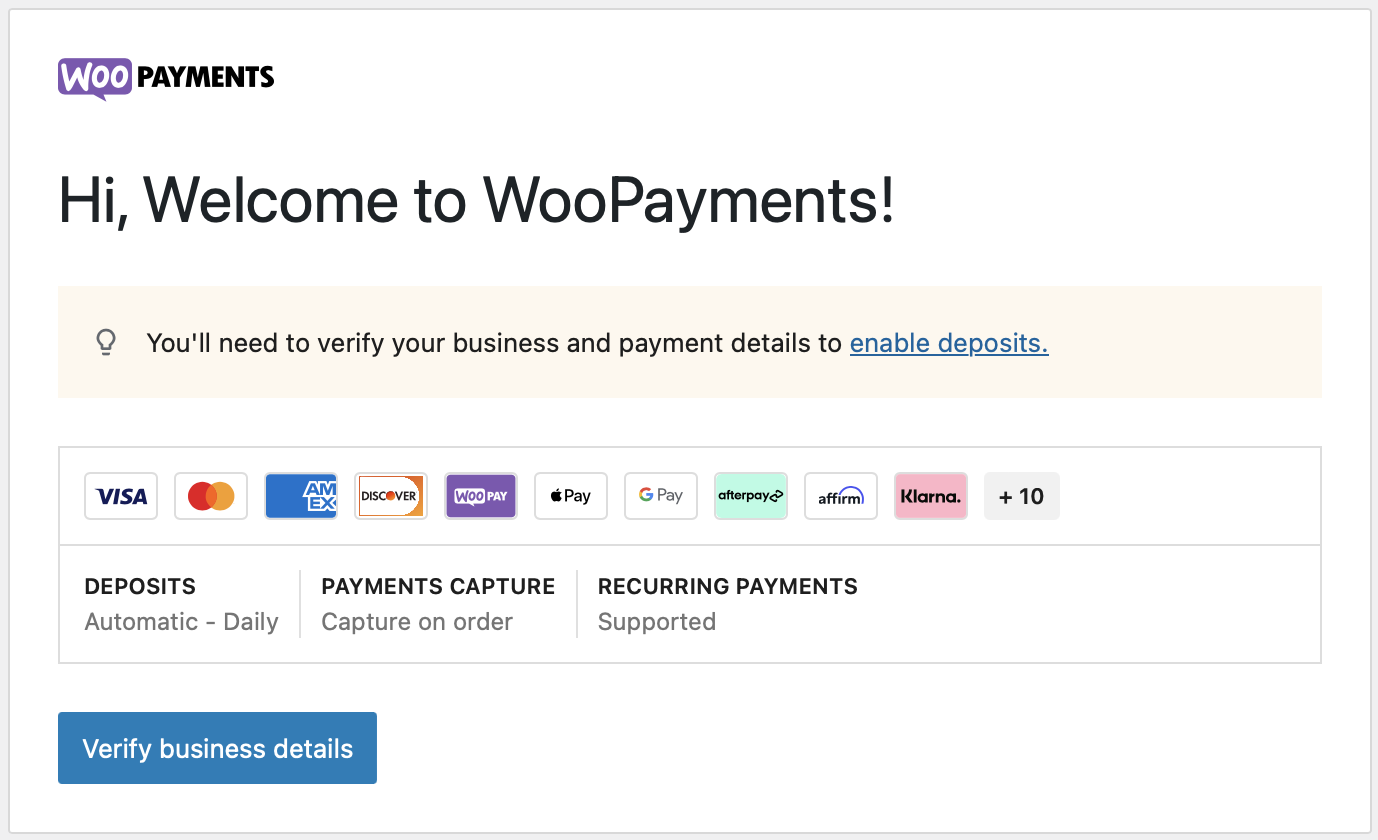
Select “Verify business details.”
Select the type of legal entity, the category of your entity, and the industry in which you will be trading. In our case, it is a Multi-member Company, and we will be in the business of Apparel and Accessories, as follows:
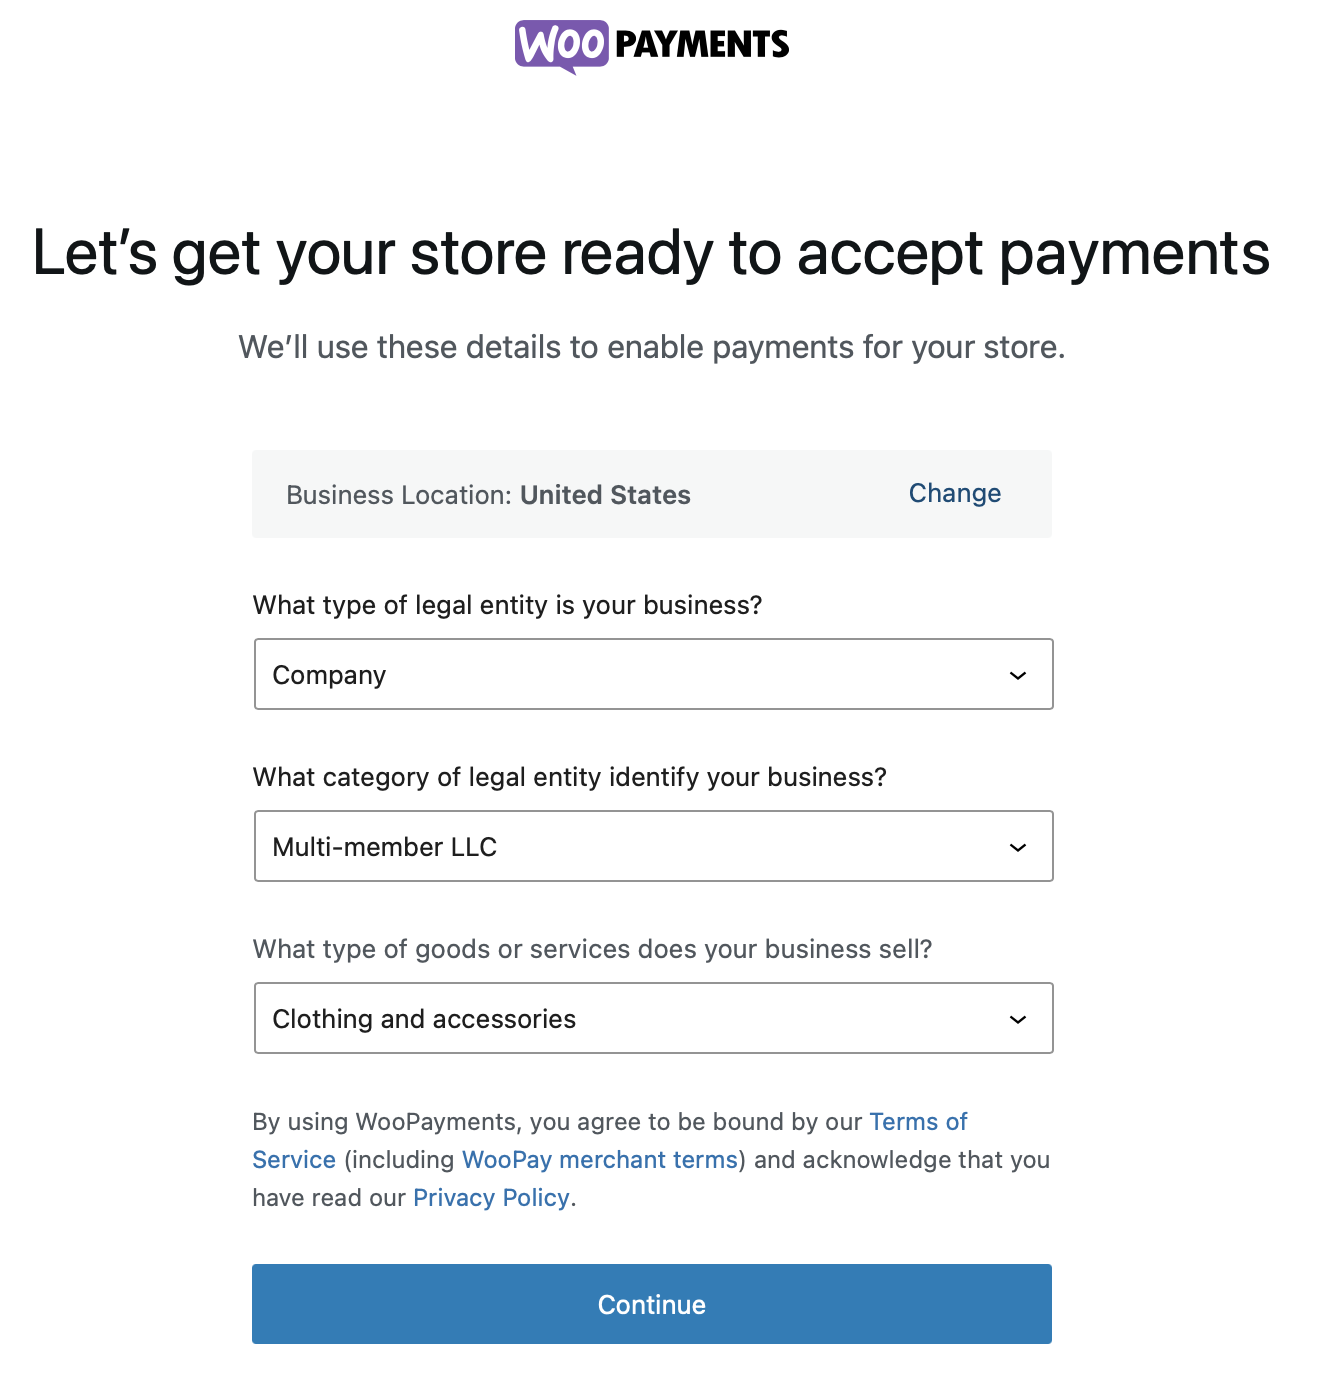
Press the “Continue” button. Next, it will ask about the estimated range of your earnings, as well as the estimated time your business has been operating. In my case, I selected the following values:
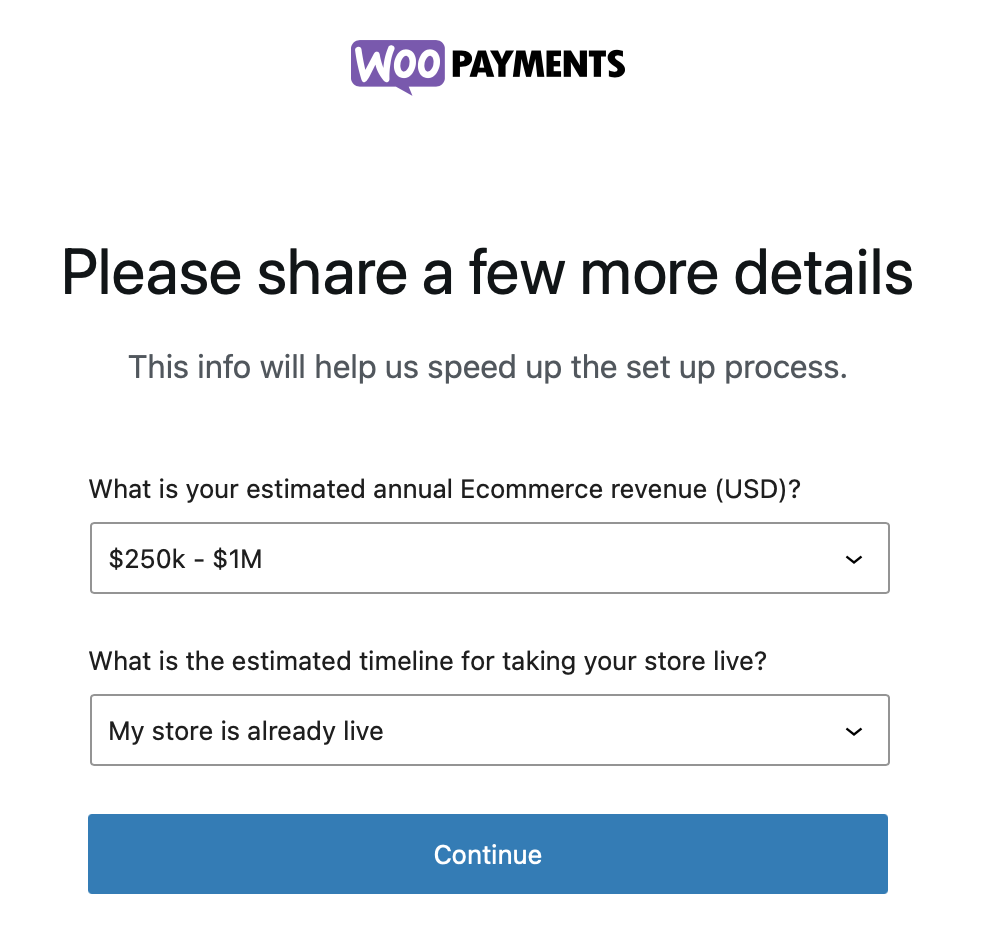
Press the “Continue” button. The system will validate the information provided. Once this process is completed, you will need to create a WooCommerce account by providing your email address.
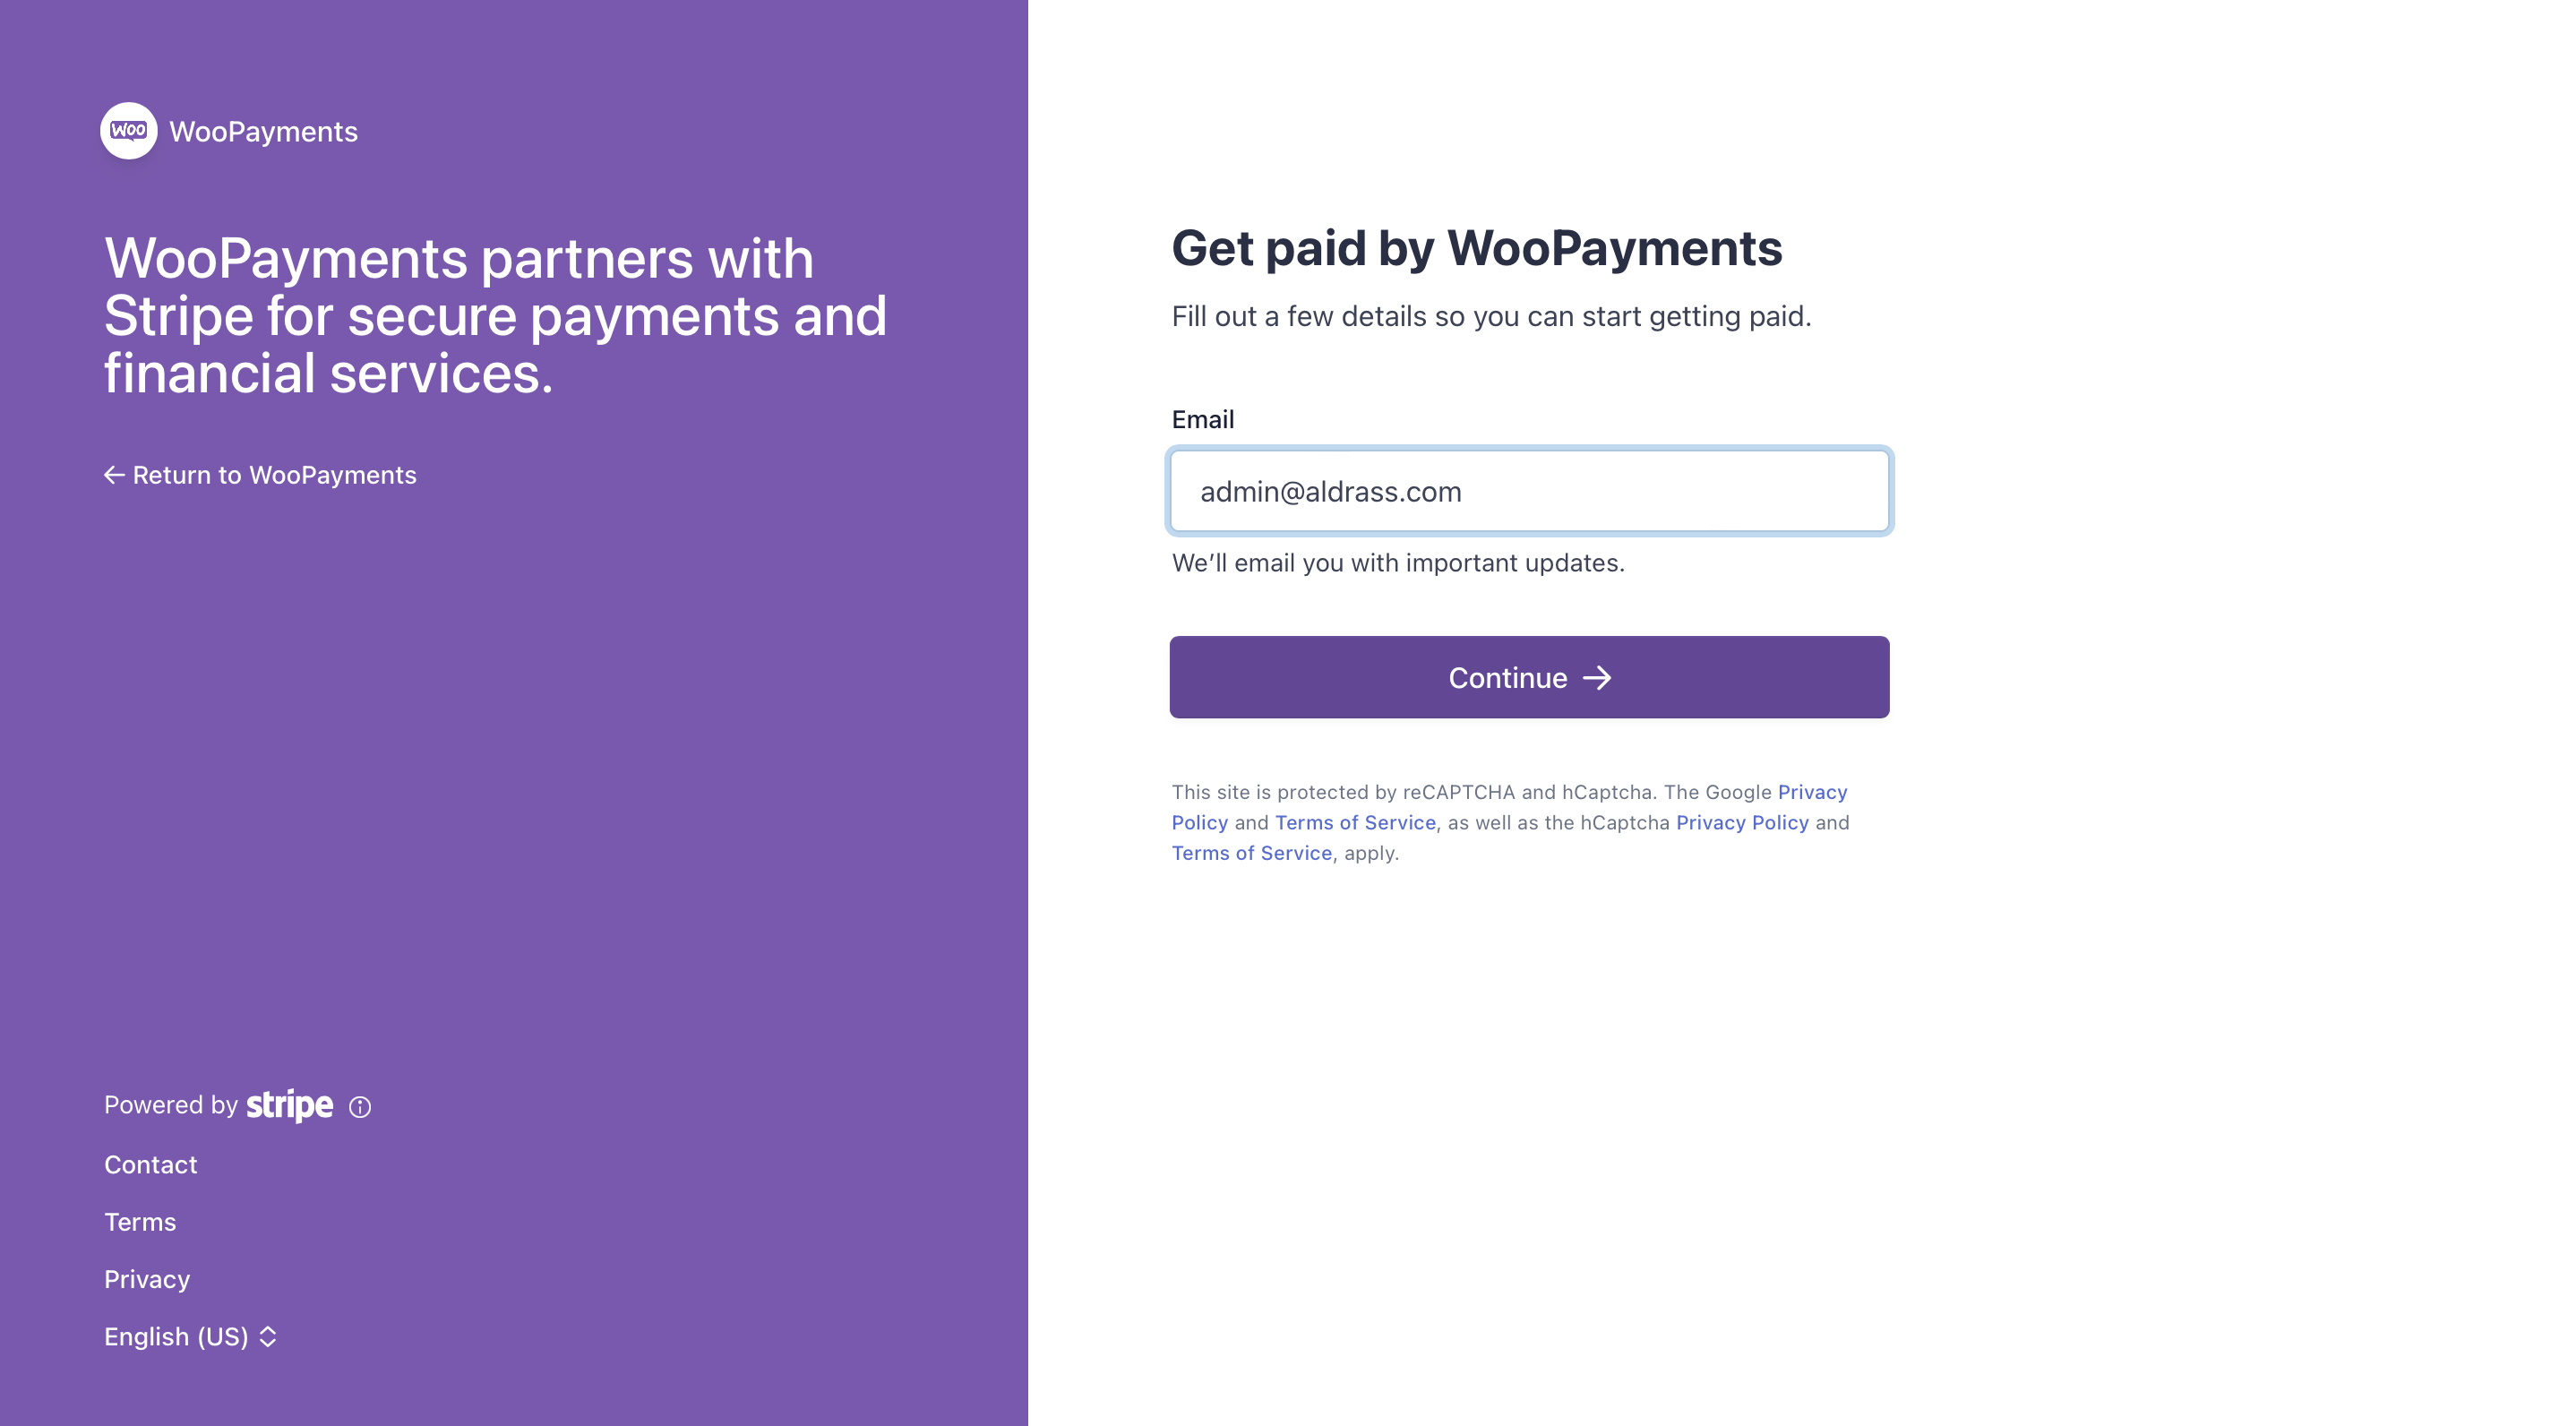
Continue and fill in all the requested values. All provided information is necessary to create a merchant account with the payment gateway. Once the operation is complete, you will return to your site with a view like this:
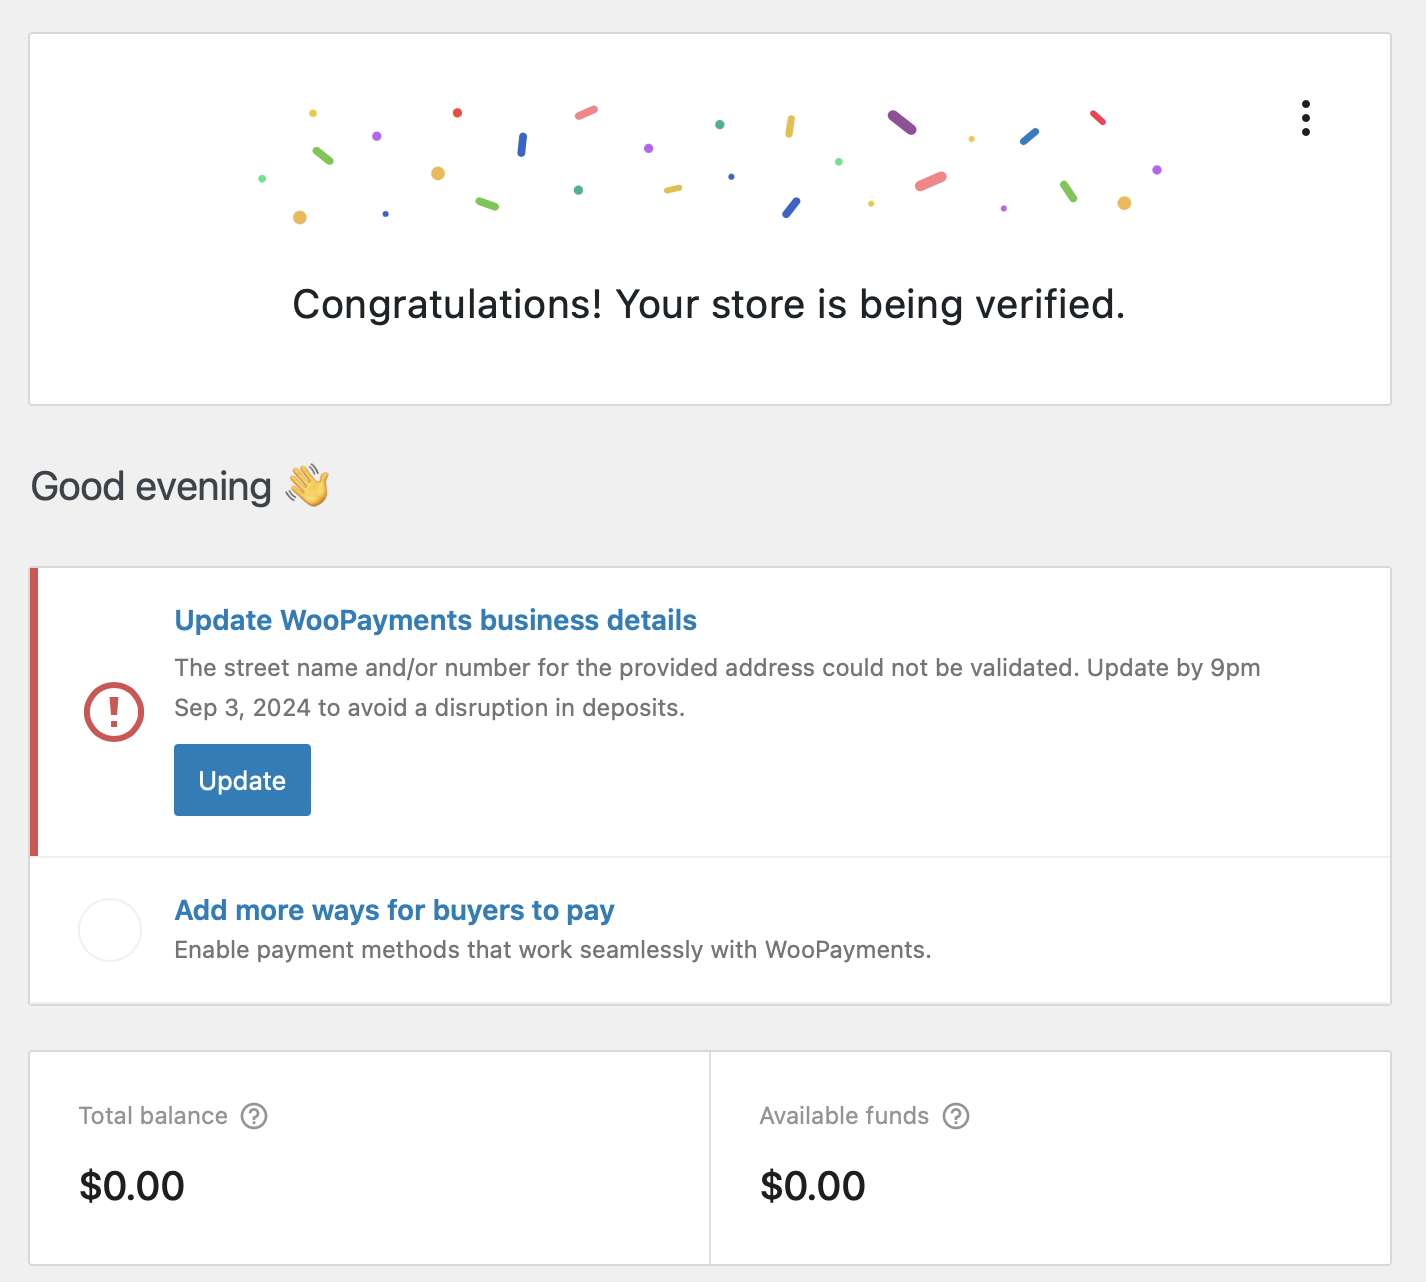
As you can see, WooPayments is requesting additional information. If this is your case, follow these steps:
Click on the “Update” button.
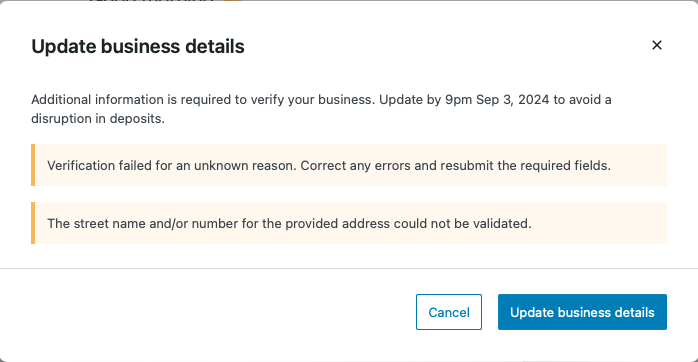
Select “Update business details.”
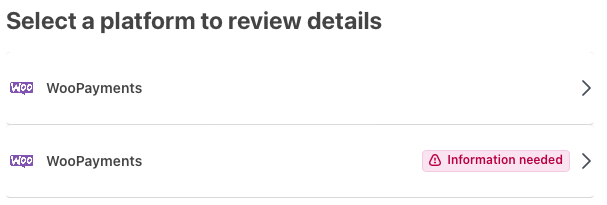
Click on the “Information needed” tab.
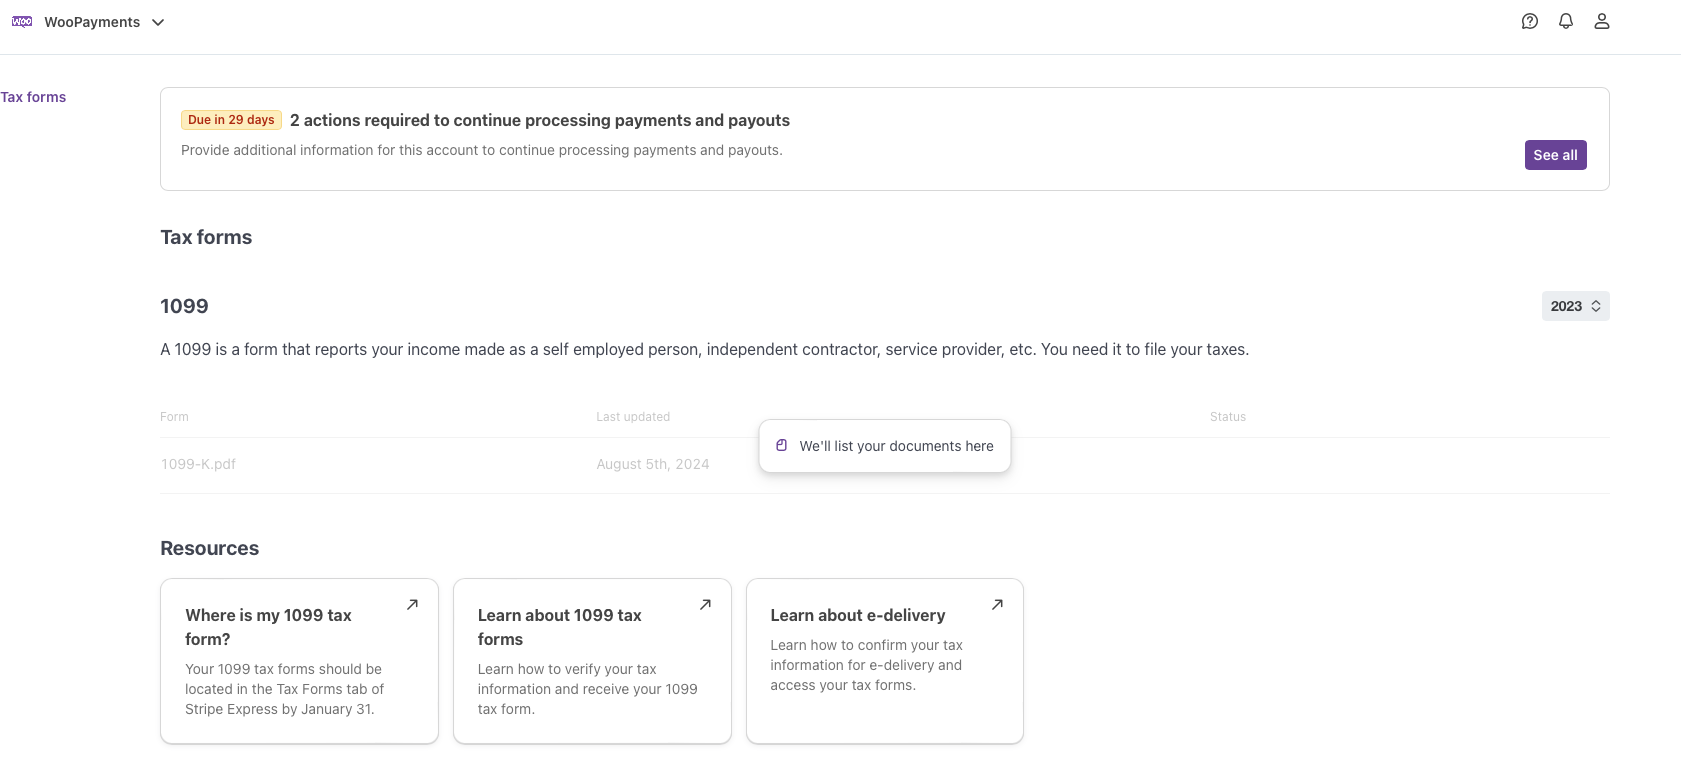
Select “See all”
Once there, try to complete all the requested information.
With the payment system defined and all the required information submitted to WooCommerce to enable online payments, your store should be ready to start adding the products you want to offer. But that’s a topic for another article. For now, these are the basic installation and configuration steps to set up your online store. I hope you found it useful. If you have any questions, doubts, or suggestions, just let me know, and I’ll do my best to assist you. Good luck with your projects, and see you next time.
Yuniel Alvarez
