Sending emails from your WordPress website is vital, whether it’s to receive notifications when a comment or suggestion is posted on your site or when you receive an order in your online store. There are many examples of the usefulness of this feature.
This article will cover the configuration of the WP Mail SMTP plugin to use Gmail for sending emails. Pay close attention to each detail provided, as we will be making modifications both in Google Admin and in your DNS settings to ensure proper functionality. Without further ado, let’s get started.
The first step is to install the WP Mail SMTP plugin in WordPress. Once installed, it will prompt you to start configuring it.
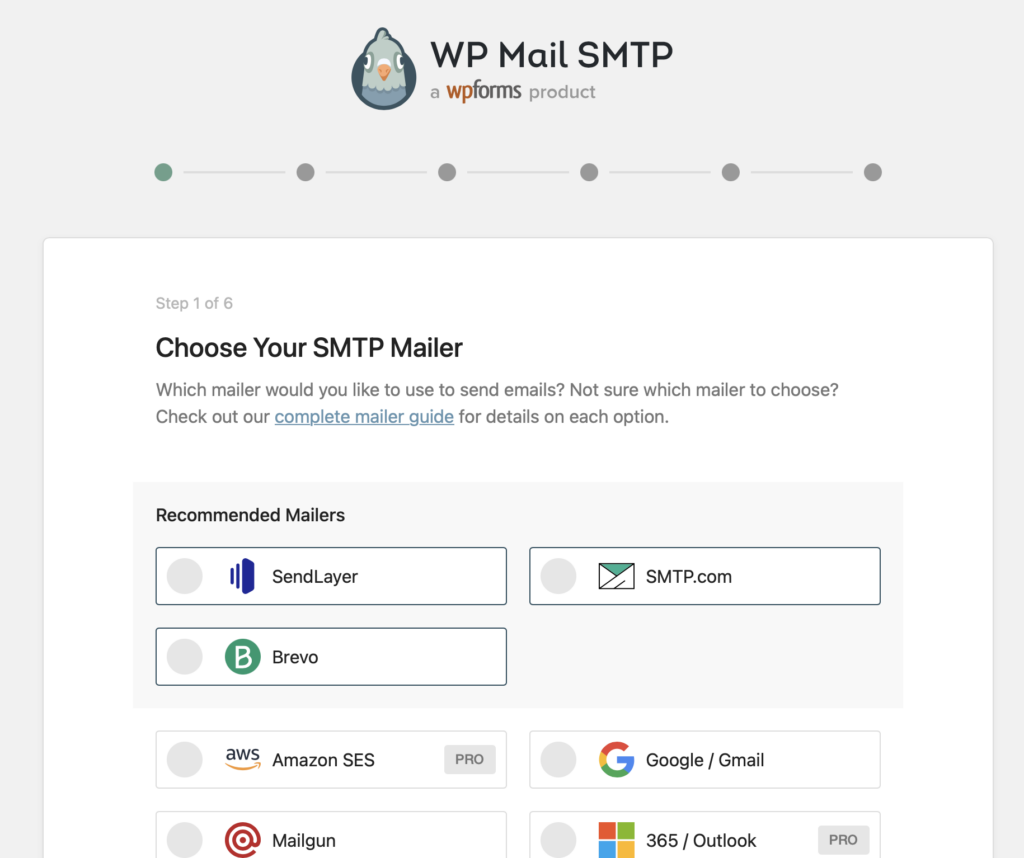
Select the Google / Gmail option and press the “Save and Continue” button.
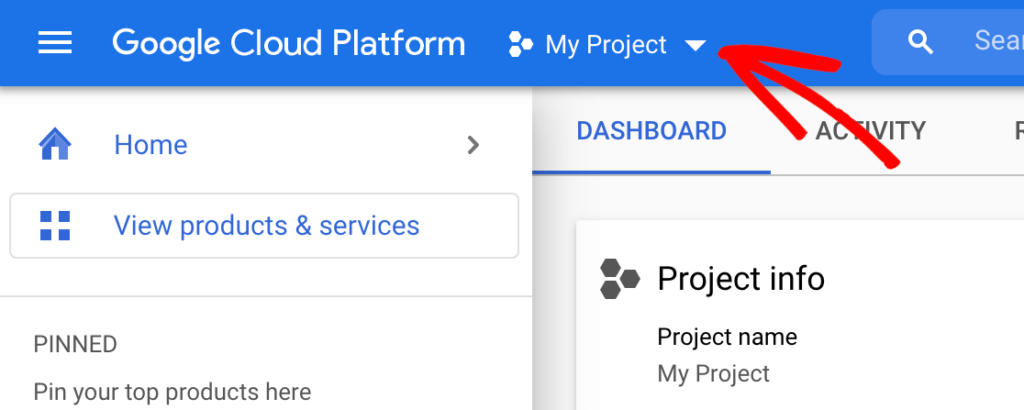
In the next view, you will be asked for details such as Client ID, Client Secret, and Authorized Redirect URI. To obtain this information, go to the Google Cloud Console and select “My Project” in the upper section.
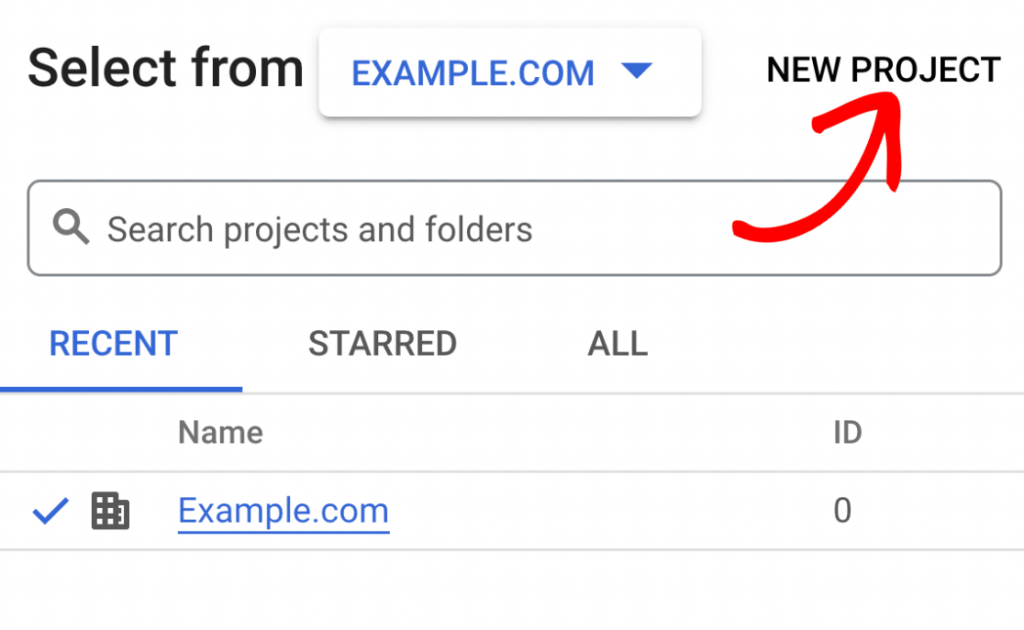
Next, select “New Project.”
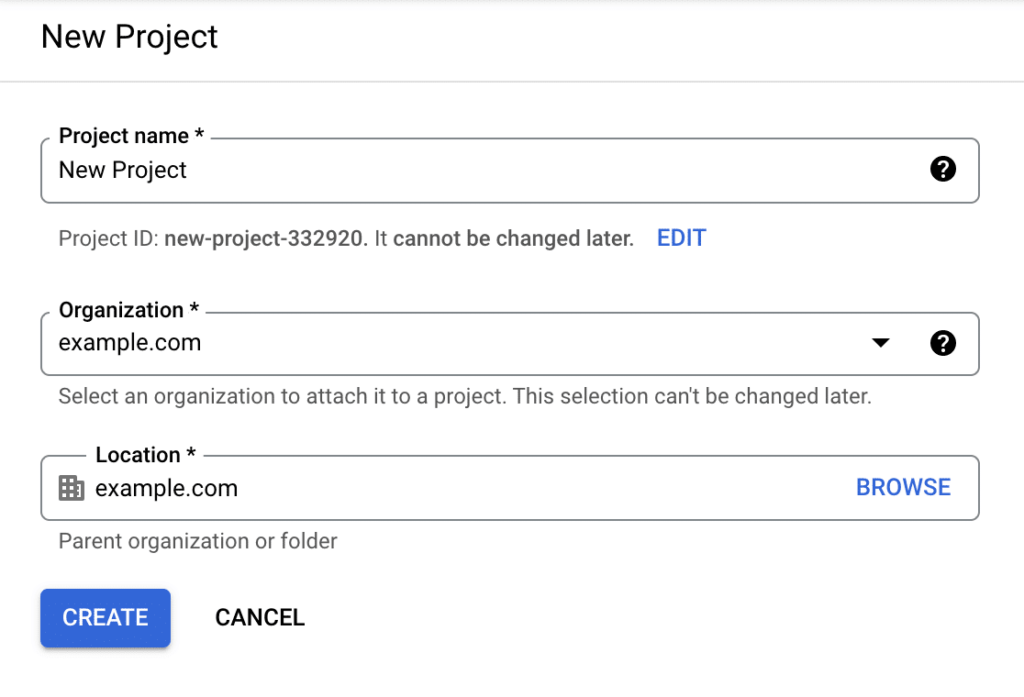
Define the project name, organization, and location, and then press the “CREATE” button.
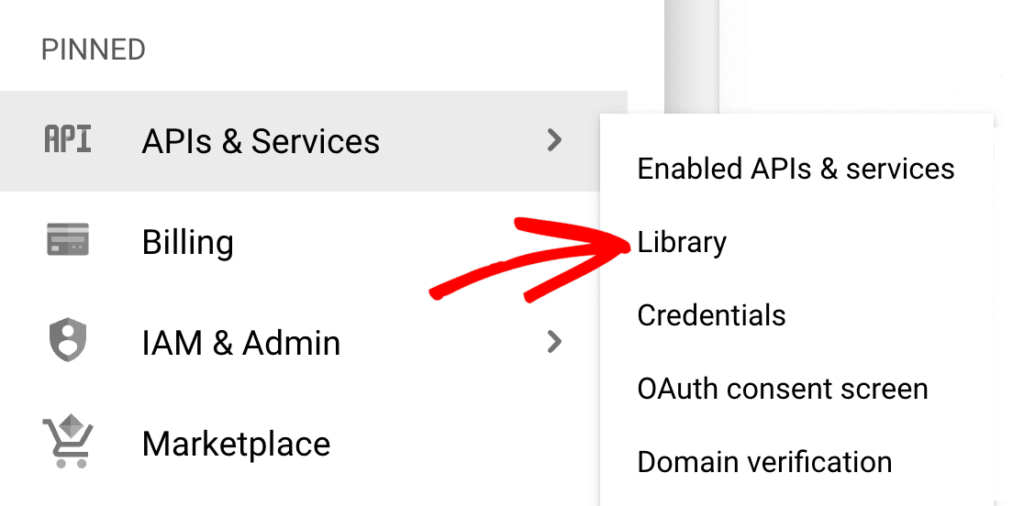
With our project defined, we need to enable the Gmail API within it. To do this, in the upper left corner, click on the menu icon, and under the “APIs & Services” section, select “Library.”
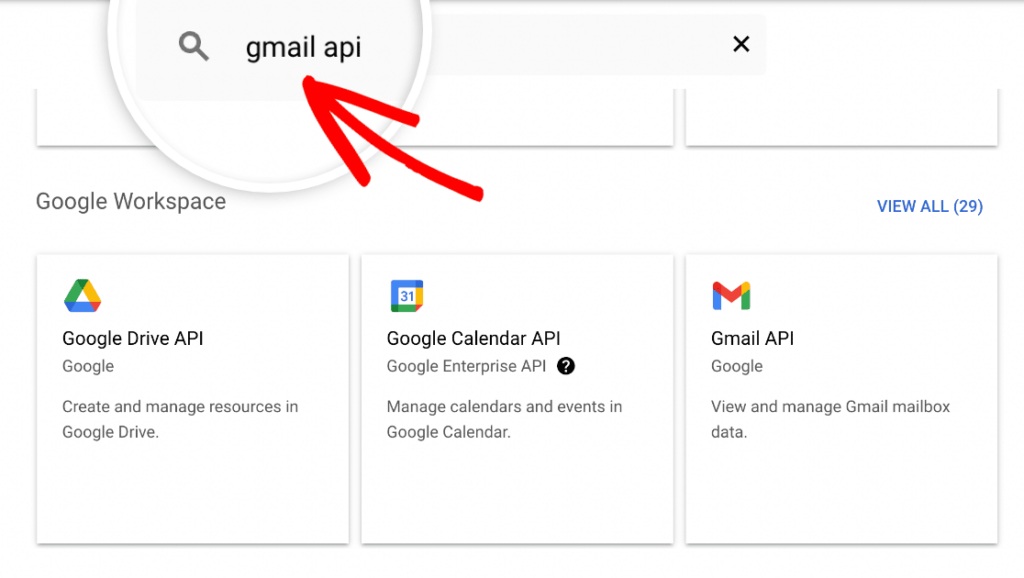
In the search box, type “Gmail API.”
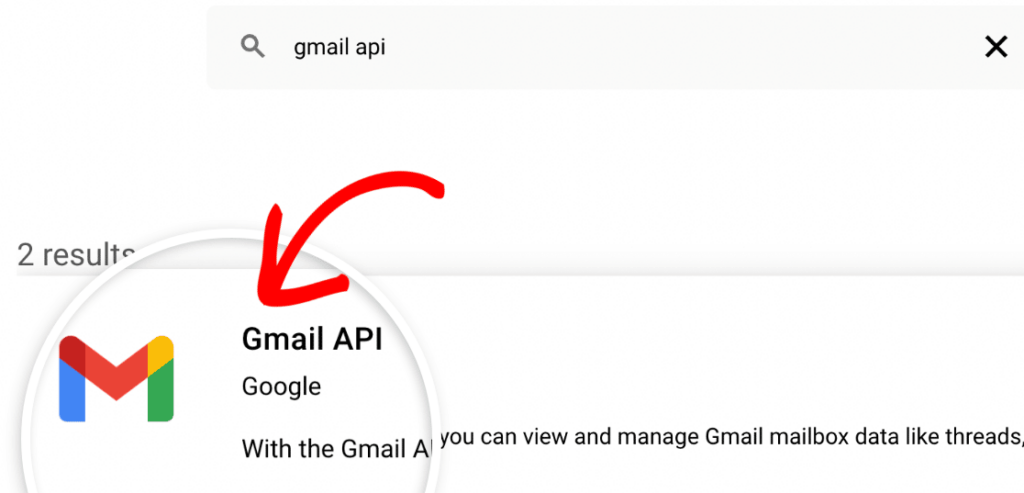
Click on the “Gmail API” search result.
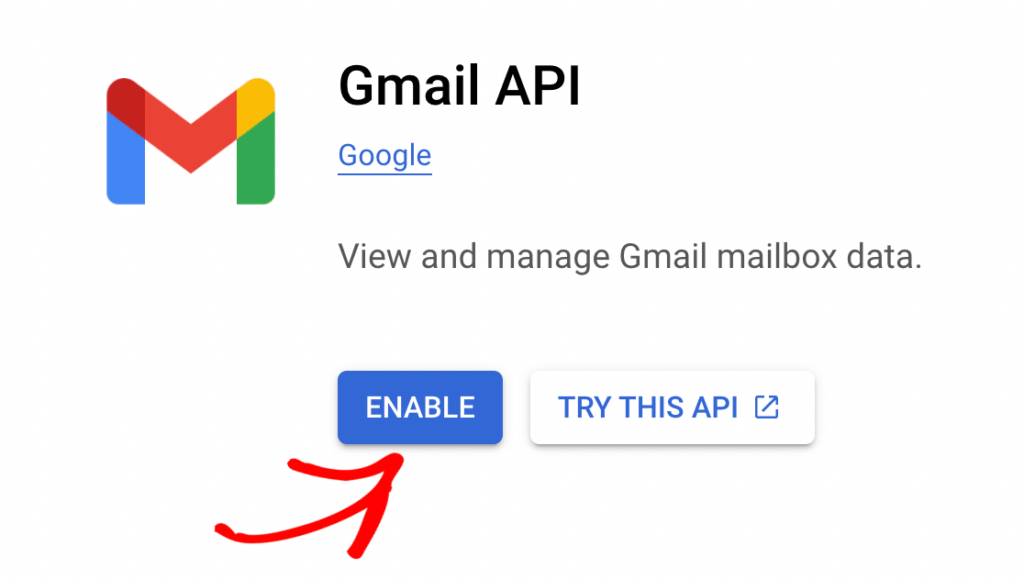
Habilitamos el API
After enabling the API, we need to generate the necessary credentials.
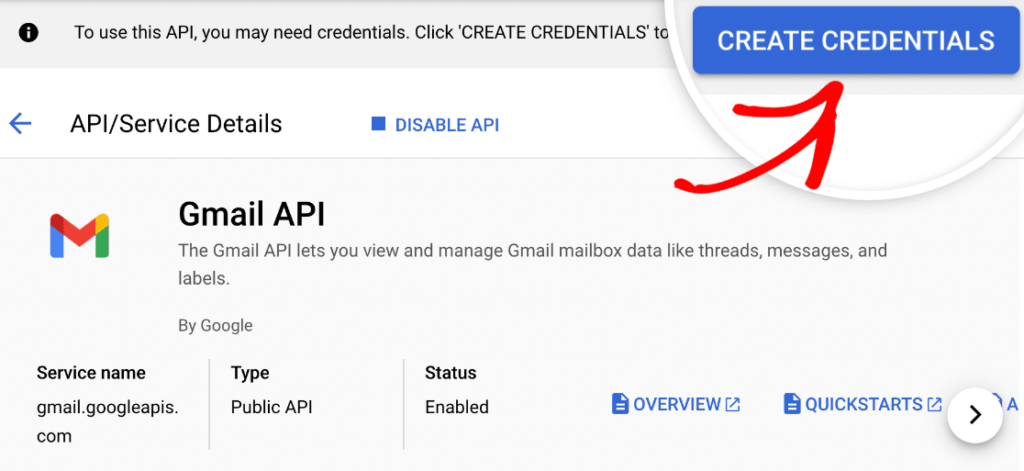
On the next page, select Gmail API.
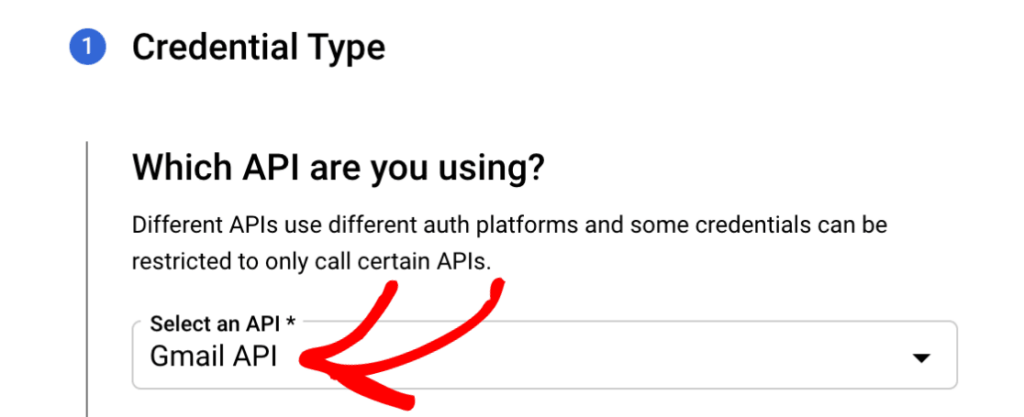
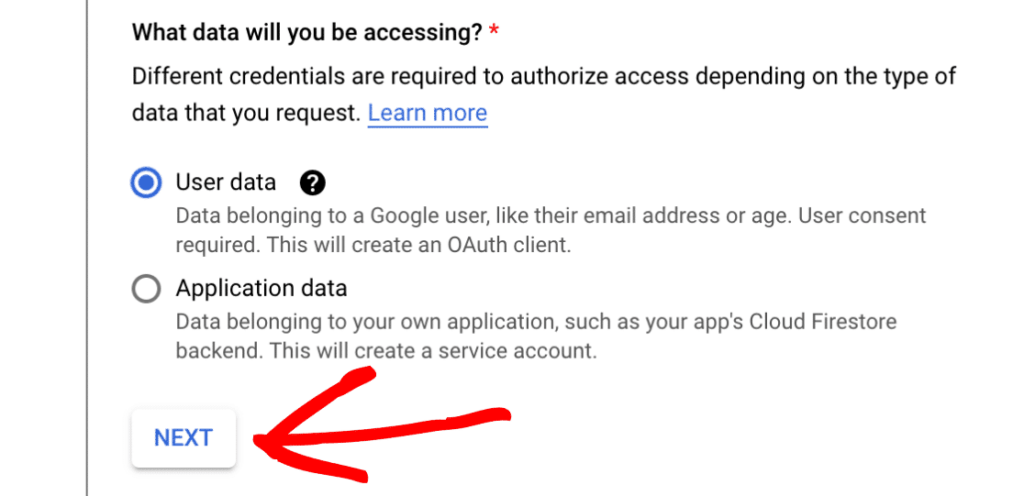
Now, select User Data and press the CONTINUE button.
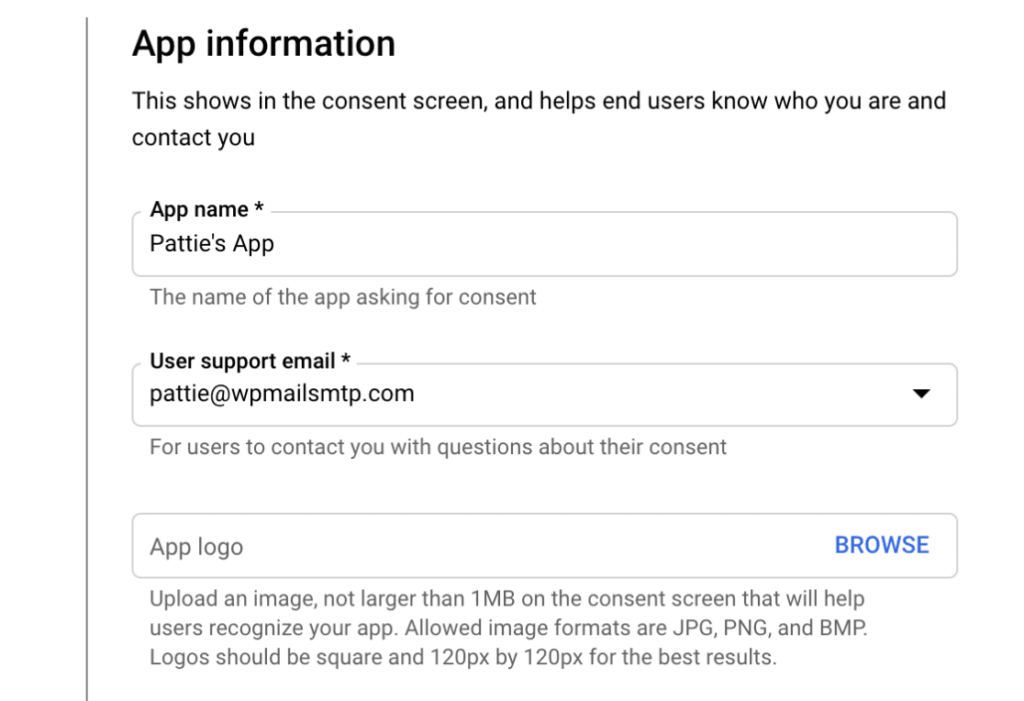
We will configure OAuth, so select an application name and a support email address. Optionally, you can also choose a logo for the application.
The next step is to configure the OAuth Client ID. Select “Web Application” from the dropdown and define a name for it.
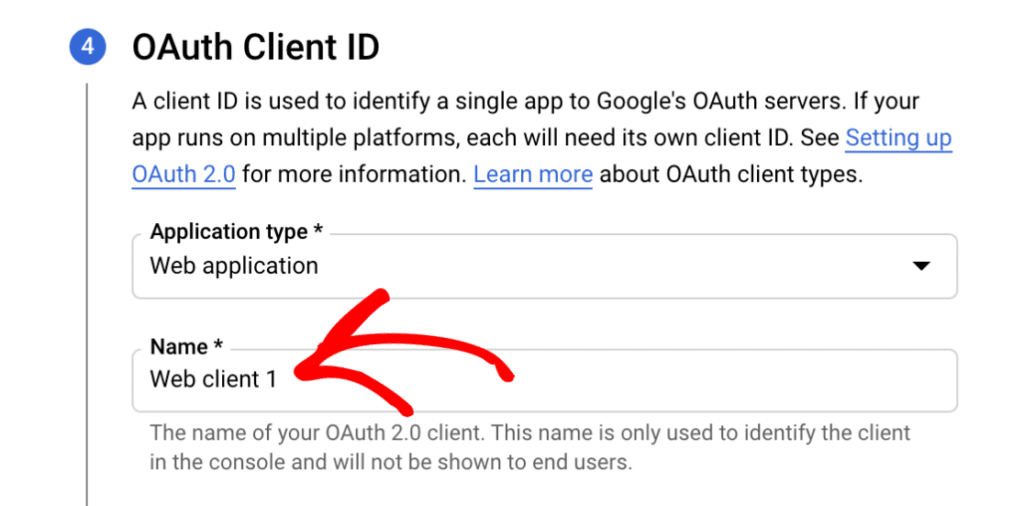
Click on ADD URI under the Authorized redirect URIs section and configure the following URL there: https://connect.wpmailsmtp.com/google/.
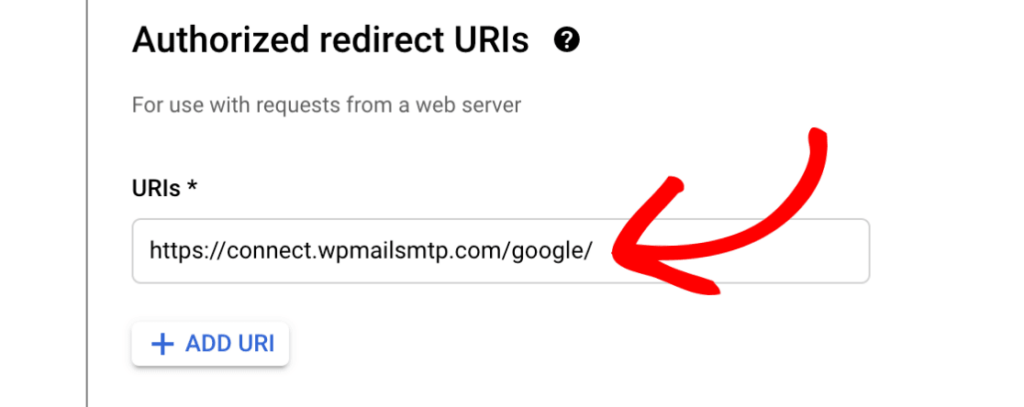
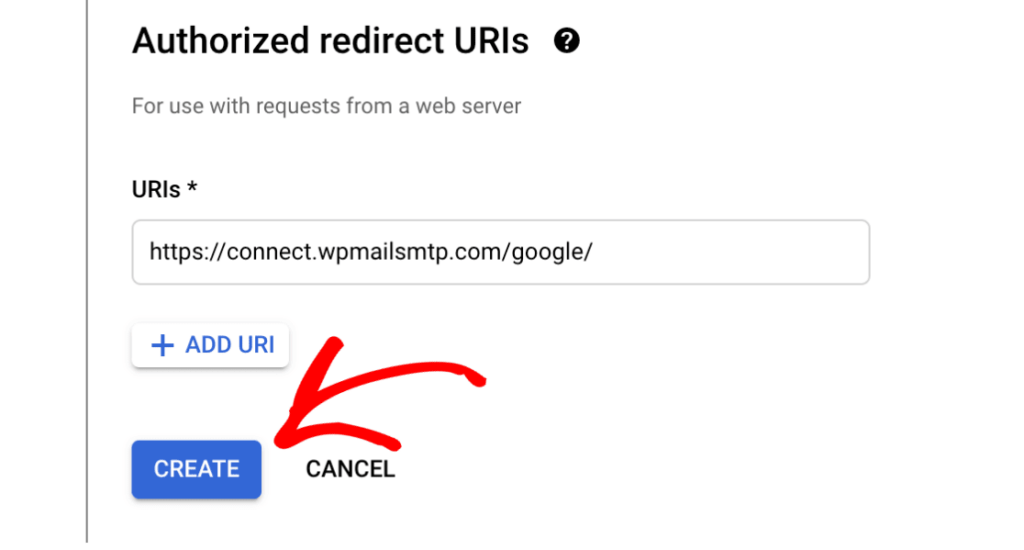
Click the CREATE button.
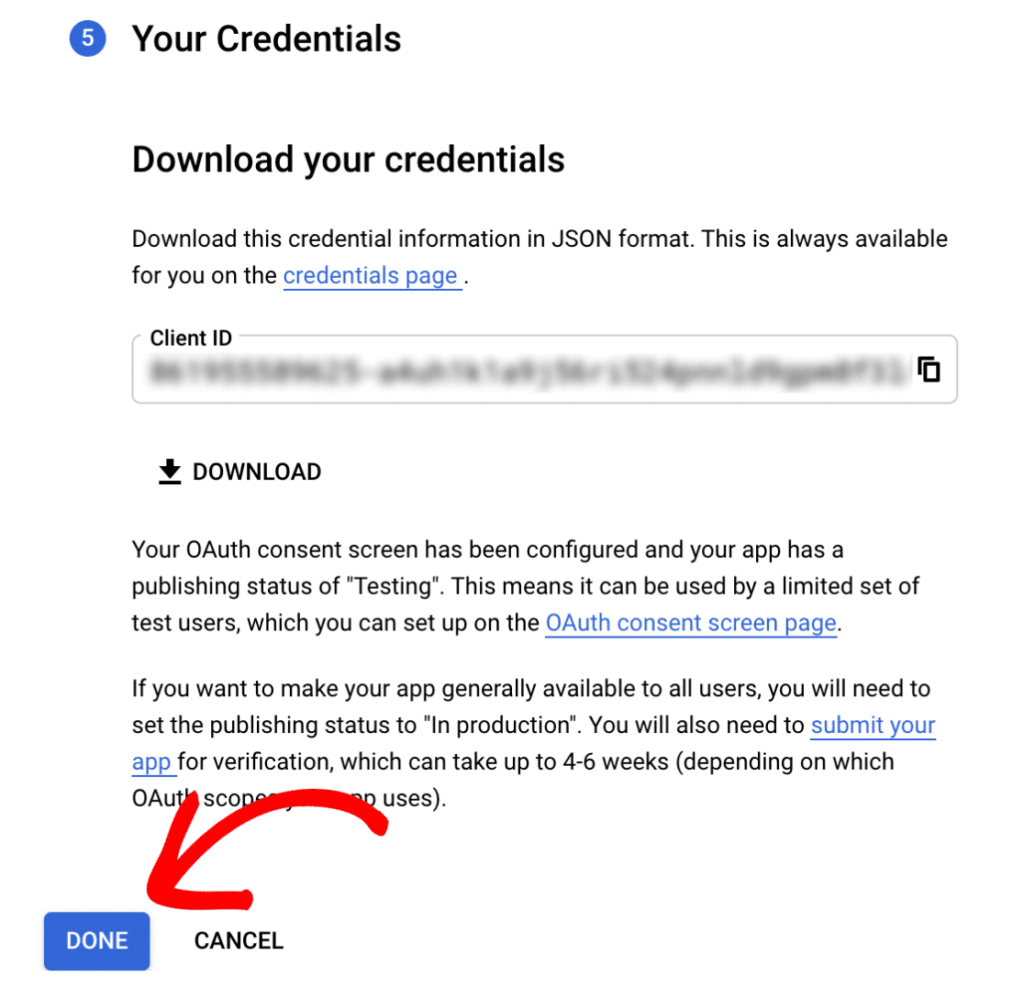
Now that the Client ID is available, press the DONE button to complete this view.
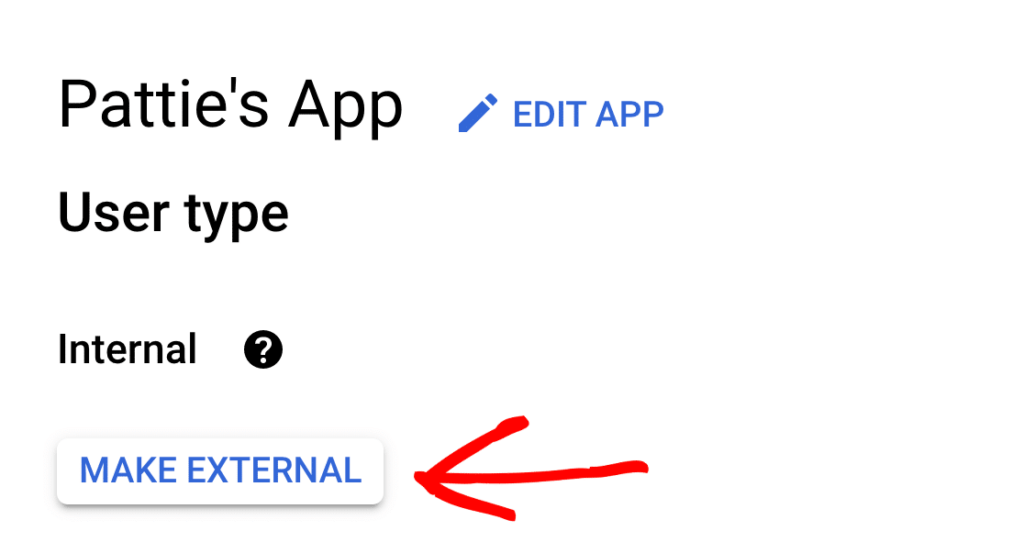
By default, Google sets your application to Internal mode. To change it to External mode, select APIs & Services and within the submenu OAuth consent screen, once there, select the MAKE EXTERNAL button.
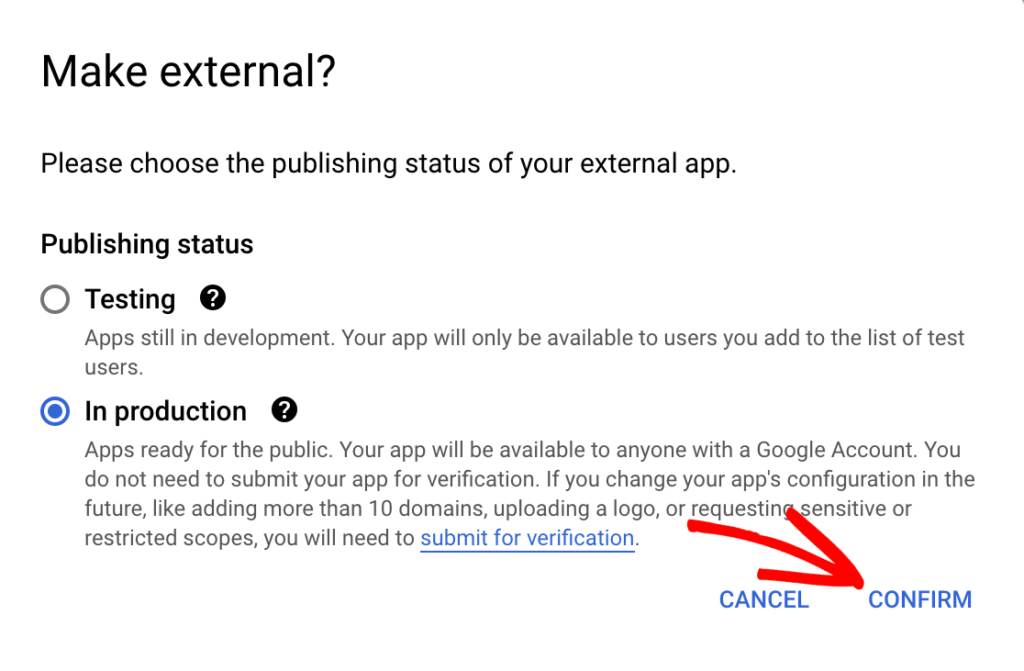
Select the In production option and then CONFIRM.
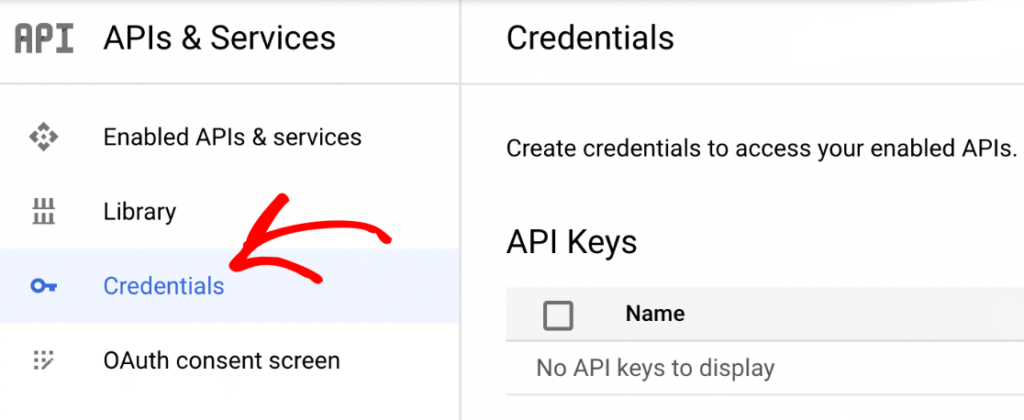
Now, retrieve the values for Client ID and Client Secret from the Credentials section under APIs & Services.
Find the recently generated credentials and click on the edit icon.
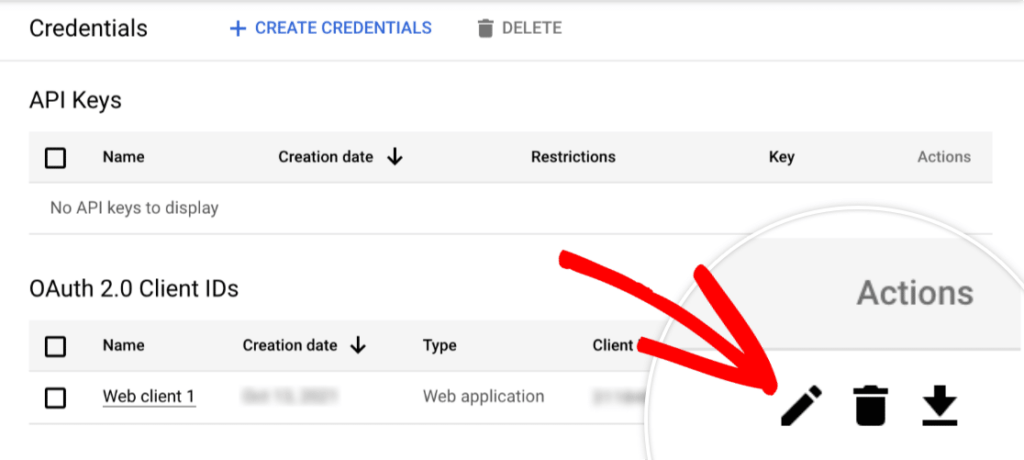
Now you will be able to copy both the Client ID and the Client Secret.

Paste these values into the configuration form of the WP Mail SMTP plugin.
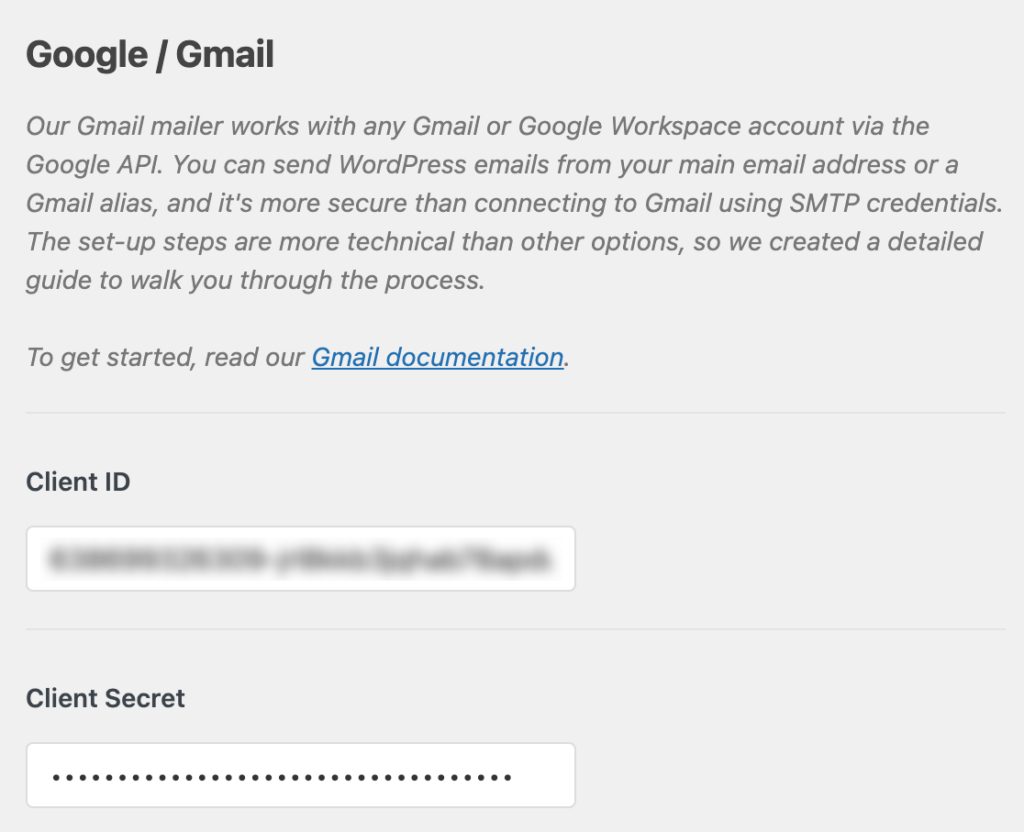
Click the “Connect to Google” button.

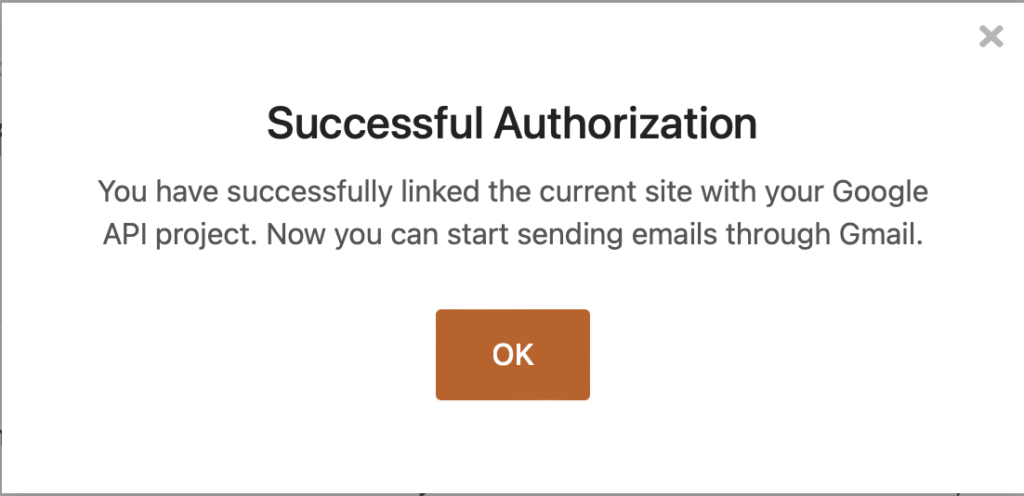
Complete the login process with your Google credentials, and once finished, you should see a confirmation window like the one below.
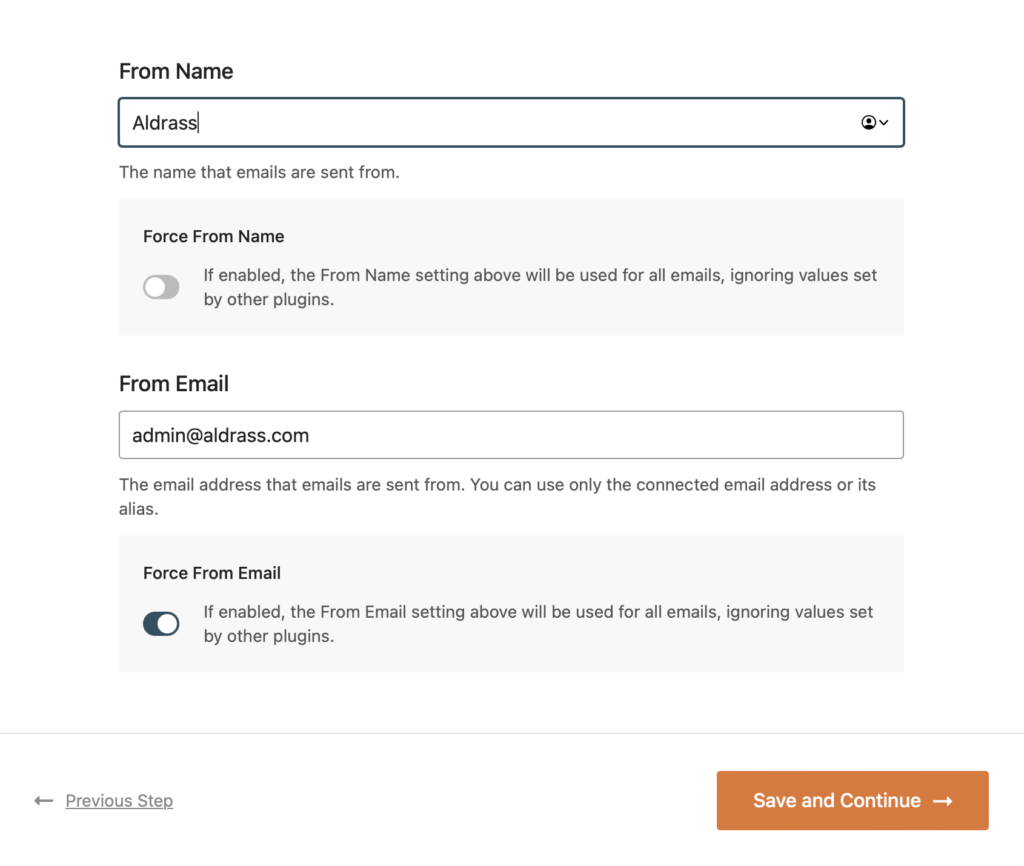
Now, define the name you want to appear on the sent emails and press the “Save and Continue” button.
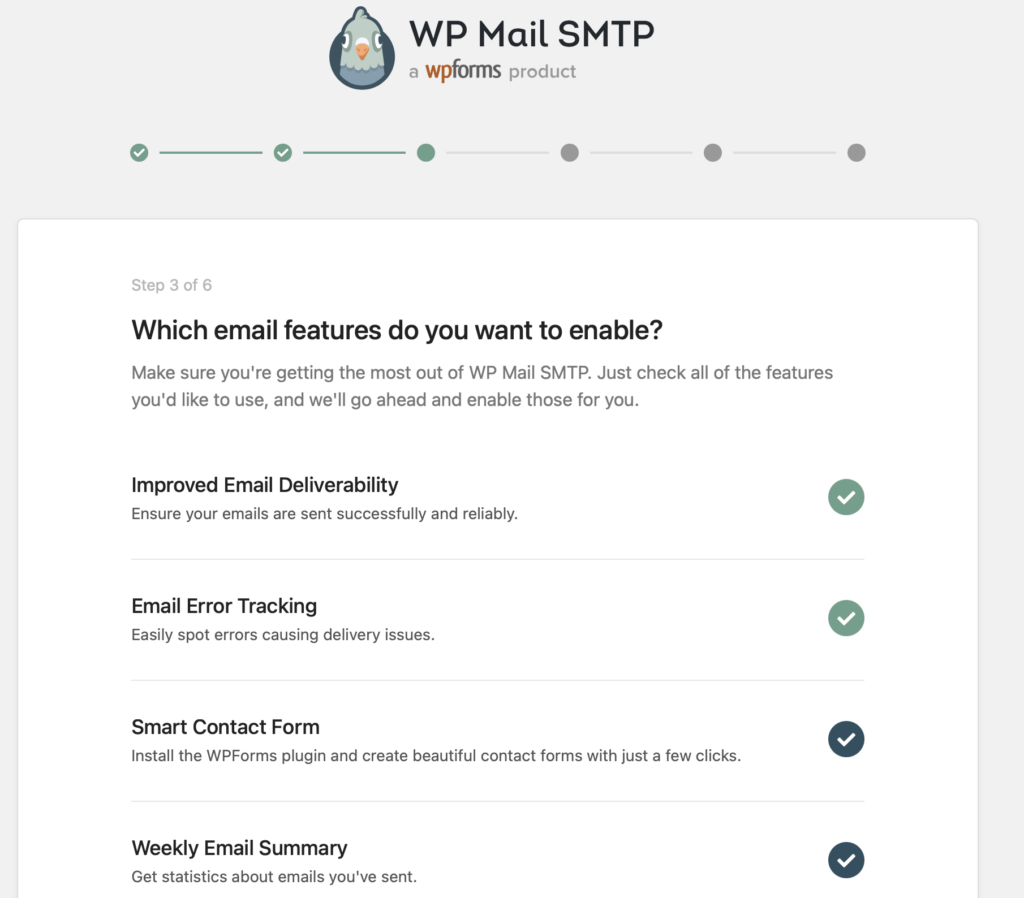
On the next page, select the features you want to enable and press the “Save and Continue” button.
If you wish to receive emails from the plugin creators about optimizing and configuring additional settings, check the box and provide your email address. Otherwise, select the “Skip this Step” button.
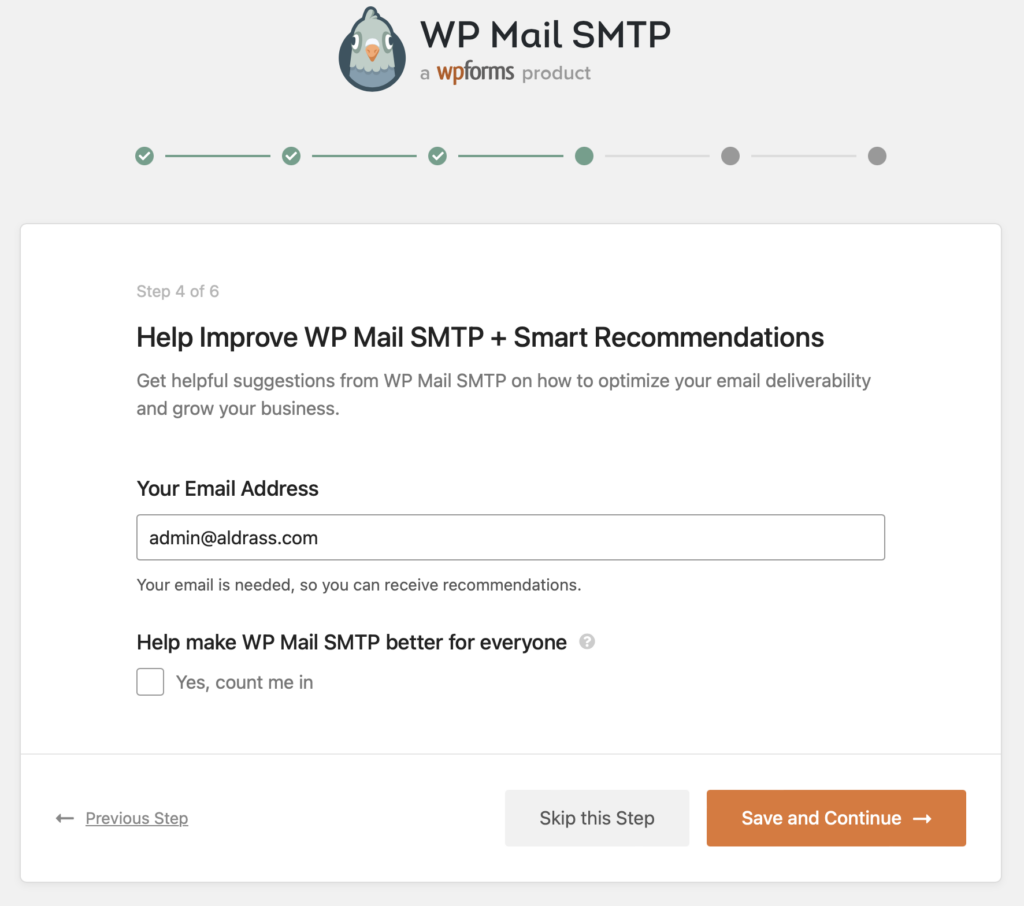
Similarly, select “Skip this Step” on the next page as well.
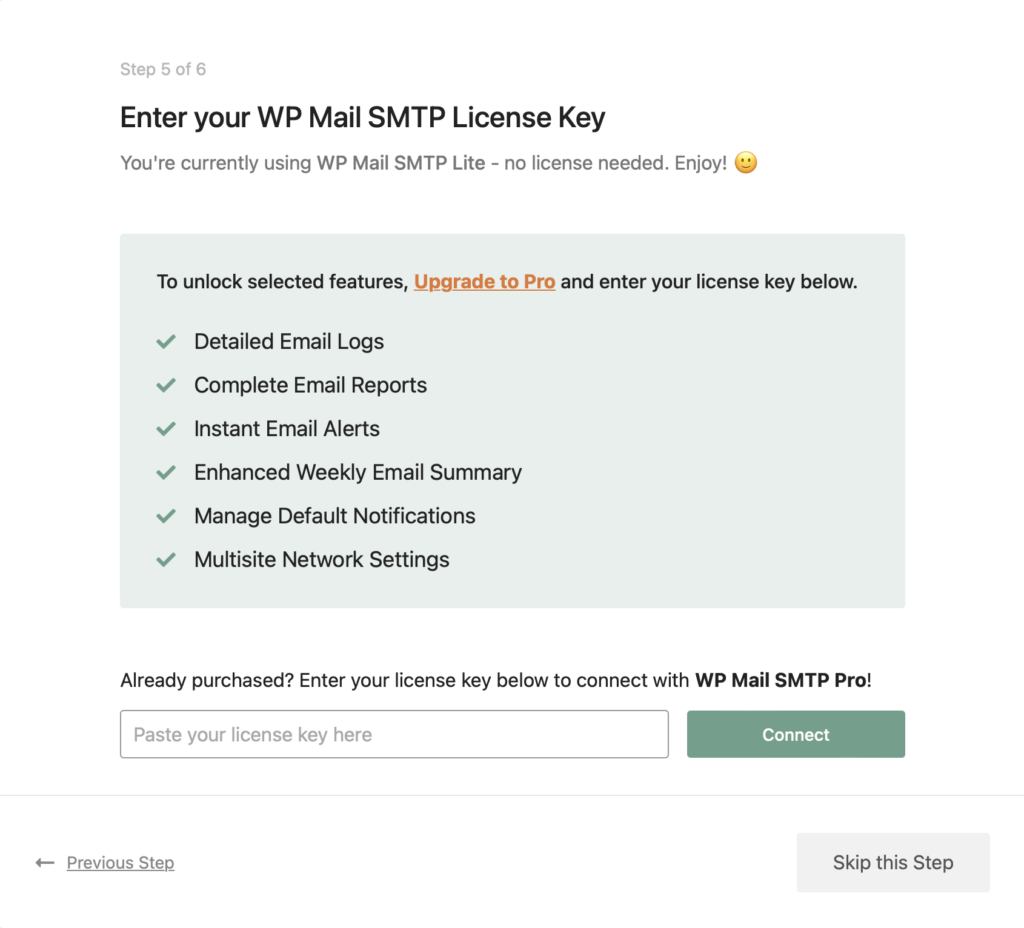
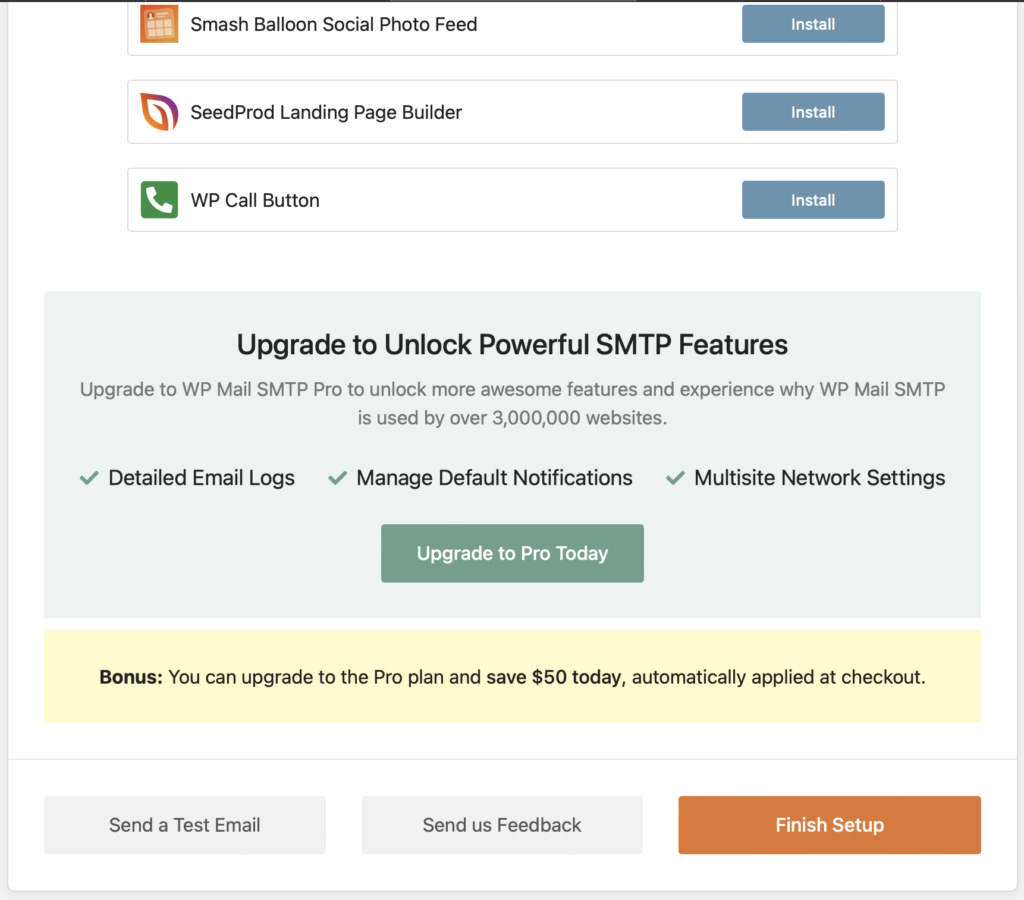
On the next page, scroll down and select “Send a Test Email”.
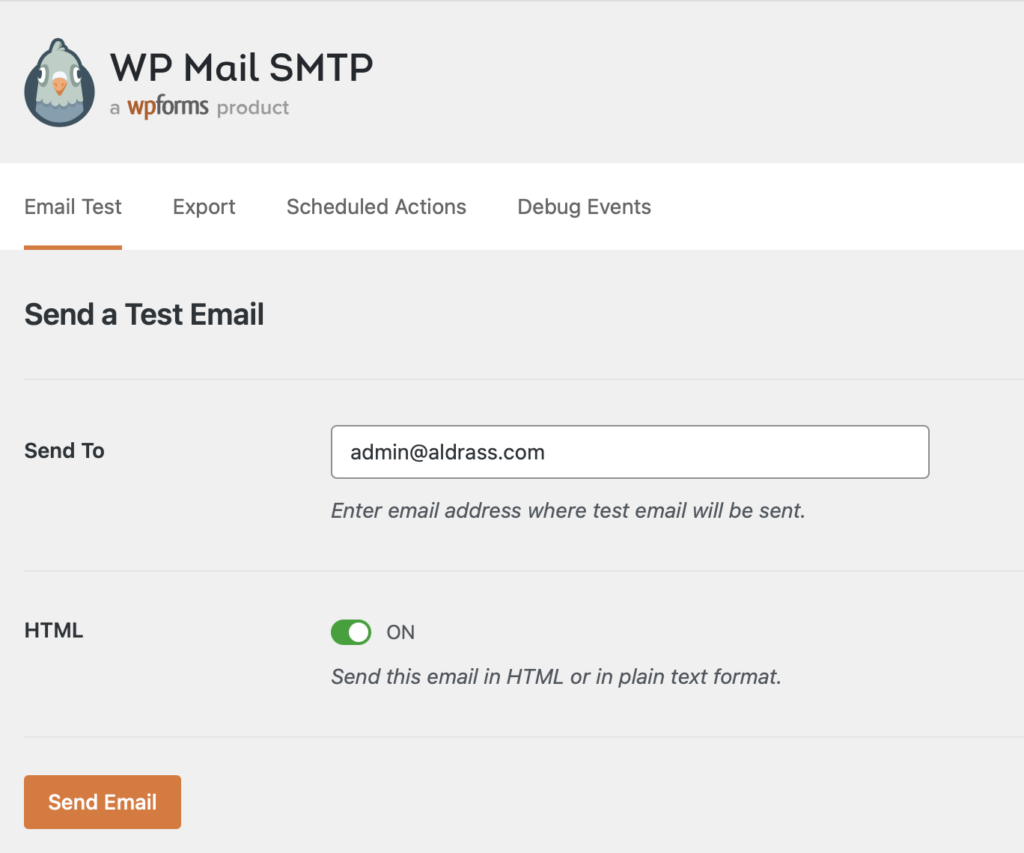
Specify the email address where you want to receive the test email and press “Send Email”.
If you see this screen, congratulations! You have successfully completed the setup. If not, continue with this article, where we will address potential issues and additional configurations you may need to perform.

Possible Problems When Sending Test Email
SPF
Action Needed: It doesn’t look like the SPF record required by Google has been added to your domain. Please check out Google’s SPF guide for details on how to add this record to your domain’s DNS.
The error message you’re seeing indicates that you haven’t correctly configured the SPF (Sender Policy Framework) record for your domain. This record helps prevent emails sent from your domain from being marked as spam. Here’s how you can add the SPF record required by Google to your domain’s DNS configuration:
Step 1: Access Your Domain’s DNS Settings
You need to access the administration panel of your domain provider. Here is a list of some of the most common domain providers and how to access their DNS settings:
- GoDaddy: Log in to your GoDaddy account, go to My Products, find your domain, and click on DNS.
- Namecheap: Log in to your Namecheap account, go to Domain List, find your domain, and click Manage, then go to the Advanced DNS tab.
- Bluehost: Log in to your Bluehost account, go to Domains, select your domain, and click Manage, then go to the DNStab.
- HostGator: Log in to your HostGator account, go to Domains, select your domain, and click Manage, then go to DNS.
Step 2: Add the SPF Record
- Access the DNS settings of your domain.
- Add a new TXT record:
- Record type: TXT
- Name: Leave this field blank or enter @ (depending on your DNS provider).
- Value:
"v=spf1 include:_spf.google.com ~all" - TTL (Time to Live): Leave it at the default value, usually 1 hour.
Example with GoDaddy
- Log in to your GoDaddy account.
- Go to My Products and select your domain.
- Click on DNS to open the DNS settings.
- In the Records section, click Add and select TXT as the record type.
- Fill in the fields:
- Name: @
- Value: “v=spf1 include:_spf.google.com ~all”
- TTL: Leave the default value (usually 1 hour).
- Save the changes.
Step 3: Verify the SPF Record
After adding the SPF record, it may take some time (up to 48 hours) for the changes to fully propagate. You can verify the SPF record configuration using online tools like MXToolbox.
Step 4: Configure WP Mail SMTP
Once you have added the SPF record to your domain, try configuring and sending emails from WP Mail SMTP again.
Summary of Steps
Verify the SPF configuration.
Try sending emails from WP Mail SMTP again.
Access your domain provider’s DNS settings.
Add a TXT record with the value v=spf1 include:_spf.google.com ~all.
Wait for the changes to propagate.
DKIM
Action Needed: It doesn’t look like the DKIM record required by Google has been added to your domain. Please check out Google’s DKIM guide for details on how to add this record to your domain’s DNS.
To configure DKIM (DomainKeys Identified Mail) with Google on your domain, you’ll need to generate a DKIM key in the Google Workspace Admin Console (if you use Google Workspace/G Suite) and then add the corresponding DNS record to your domain’s DNS settings. Here’s a step-by-step guide to do it:
Step 1: Generate a DKIM Key in Google Workspace
- Access the Google Workspace Admin Console:
- Go to admin.google.com and log in with your administrator account.
- Go to admin.google.com and log in with your administrator account.
- In the left menu, go to Security.
- Select Advanced settings.
- Configure DKIM:
- In the Email authentication section, click on Set up DKIM.
- Select your domain and click on Generate a new record.
- Generate DKIM Key:
- Choose the selector. The default value is usually “google”.
- Select the key length (1024 or 2048 bits). The 2048-bit key is more secure.
- Click on Generate.
Step 2: Add the DKIM Record to Your Domain’s DNS Settings
- Access Your Domain’s DNS Settings:
- You need to access the administration panel of your domain provider (GoDaddy, Namecheap, Bluehost, etc.)
- Add a New TXT Record:
- Record Type: TXT
- Name/Host:
google._domainkey(if your selector is different, useselector._domainkey, where selector is the value you chose) - Value: The string provided by Google, which starts with
v=DKIM1; k=rsa; p=... - TTL (Time to Live): Leave it at the default value, usually 1 hour.
Example with GoDaddy:
- Log in to your GoDaddy account.
- Go to My Products and select your domain.
- Click on DNS to open the DNS settings.
- In the Records section, click Add and select TXT as the record type.
- Fill in the fields:
- Name/Host:
google._domainkey(adjust according to your selector if it’s different) - Value: Paste the DKIM string provided by Google.
- TTL: Leave it at the default value (usually 1 hour).
- Name/Host:
- Save the changes.
Step 3: Activate DKIM Signing in Google Workspace
- Return to the Google Workspace Admin Console.
- Activate DKIM:
- In the Email authentication section, after adding the TXT record, click on Start Authentication.
Step 4: Verify the Configuration
- Wait for DNS Propagation:
- It may take some time (up to 48 hours) for the DNS changes to fully propagate.
- Verify DKIM Configuration:
- You can use online tools such as MXToolbox DKIM to check if your DKIM setup is correct.
Summary
- Generate a DKIM Key: In the Google Workspace Admin Console.
- Add the DKIM Record: To your domain’s DNS settings.
- Activate DKIM Signature: In Google Workspace.
- Verify the Configuration: And wait for DNS propagation.
By following these steps, you should be able to correctly configure DKIM for your domain with Google and ensure that emails sent from your domain are properly authenticated.de tu sitio WordPress utilizando Google SMTP sean autenticados correctamente.
DMARC
Action Recommended: It doesn’t look like DMARC has been set up on your domain (aldrass.com). We recommend using the DMARC protocol because it helps protect your domain from unauthorized use. Please check out this step-by-step guide for details on how to add the DMARC record to your domain’s DNS.
Setting up DMARC (Domain-based Message Authentication, Reporting & Conformance) is an important measure to protect your domain against unauthorized use and phishing. Here is a step-by-step guide to adding a DMARC record to your domain’s DNS configuration:
Step 1: Access Your Domain’s DNS Settings
You need to access the control panel of your domain provider. Here’s how to access DNS settings for some common domain providers:
- GoDaddy: Log in to your GoDaddy account, go to My Products, find your domain, and click on DNS.
- Namecheap: Log in to your Namecheap account, go to Domain List, find your domain, click on Manage, then go to the Advanced DNS tab.
- Bluehost: Log in to your Bluehost account, go to Domains, select your domain, and click on Manage, then go to the DNS tab.
- HostGator: Log in to your HostGator account, go to Domains, select your domain, and click on Manage, then go to DNS.
Step 2: Create the DMARC Record
Access the DNS settings for your domain.
Add a new TXT record:
- Record Type: TXT
- Name/Host: _dmarc (make sure to include the subdomain _dmarc)
- Value: You can use a basic DMARC configuration. An example of a DMARC record is the following:cssCopy code
v=DMARC1; p=none; rua=mailto:your-email@yourdomain.com; ruf=mailto:your-email@yourdomain.com; sp=none; aspf=r;This record means the following:- v=DMARC1; specifies the version of the DMARC protocol.
- p=none; indicates that no specific action should be taken for emails that fail DMARC authentication (a good initial setting for monitoring).
- rua=mailto@yourdomain.com; is the email address where you will receive aggregate reports.
- ruf=mailto@yourdomain.com; is the email address where you will receive forensic reports.
- sp=none; indicates the policy for subdomains (none means no specific action will be taken).
- aspf=r; indicates the SPF alignment (relaxed).
- TTL (Time to Live): Leave it at the default value, usually 1 hour.
Example with GoDaddy
- Log in to your GoDaddy account.
- Go to My Products and select your domain.
- Click on DNS to open the DNS settings.
- In the Records section, click Add and select TXT as the record type.
- Fill in the fields:
- Name/Host: _dmarc
- Value: Paste the DMARC string provided above.
- TTL: Leave it at the default value (usually 1 hour).
- Save the changes.
Step 3: Verify the DMARC Record
After adding the DMARC record, it may take some time (up to 48 hours) for the changes to fully propagate. You can verify the DMARC record configuration using online tools such as MXToolbox DMARC.
Step 4: Monitor DMARC Reports
Once the DMARC record is active, you will start receiving DMARC reports at the email address specified in the record (rua and ruf). These reports will provide information about emails that pass or fail DMARC, SPF, and DKIM checks.
Summary
- Access your domain provider’s DNS settings.
- Add a TXT record with the appropriate DMARC value.
- Verify the DMARC configuration.
- Monitor DMARC reports to adjust your policies as needed.
With this basic setup, you should have DMARC configured to help protect your domain from unauthorized use and phishing.rás en camino de proteger tu dominio contra el uso no autorizado y el phishing.
Yuniel Alvarez


